


Kell’s Vengeance is a new quick event that will wrap up the finale of Destiny 2’s Revenant episode. What’s unique about this event is that you require a friend to start the mission. During the mission, you are tasked with defeating Skolas. Without the right loadout or knowing what to expect, you would be downed in no time. Which is why we have put up this guide on how to go about defeating Skolas in Destiny 2.
Destiny 2 Kell’s Vengeance Prerequisites & Preparation
Kell’s Vengeance will be available upon completing the entirety of Eliksni Rescue I, Eliksni Rescue II, and Kell of Kells missions. After that, you can check your map to find Kell’s Vengeance in Last City. To start the final mission, you will require a minimum of two players to a maximum of three players in your team. This mission cannot be attempted solo and can only be completed on Master Difficulty. There is no matchmaking involved either, so you need to come with a team.
As for weapon loadouts, pick those that match your gameplay style, as you can conveniently switch loadouts during the match. Any Heavy DPS short burst weapon will work here like Grenade Launchers, and you can pair it up with the right perks to make the most out of it. As for builds, go for Prismatic Titans, Prismatic Warlocks and Hunters. Prismatic Titans offer their strength and high damage for the fight, while Prismatic Warlocks offer strong support while also offering high DPS. Hunters can make use of their invisibility to complete the mini-objectives within the mission while avoiding the gaze of the boss.
Destiny 2 Kell’s Vengeance Mission Guide
Before we get into the details of defeating the final boss, let’s see first how the arena mechanics work. There are four modifiers to keep an eye out for, which we have explained below.
- Warden’s Punishment: A secondary objective that will wipe your entire team if you fail it.
- Galvanized: Enemies are difficult to stun and have higher HP.
- Chaff: Radars are disabled.
- Banes: Players will be inflicted with random Banes.
- Surges: Stasis, Void
- Overcharge: Enabled
- Threat: Arc
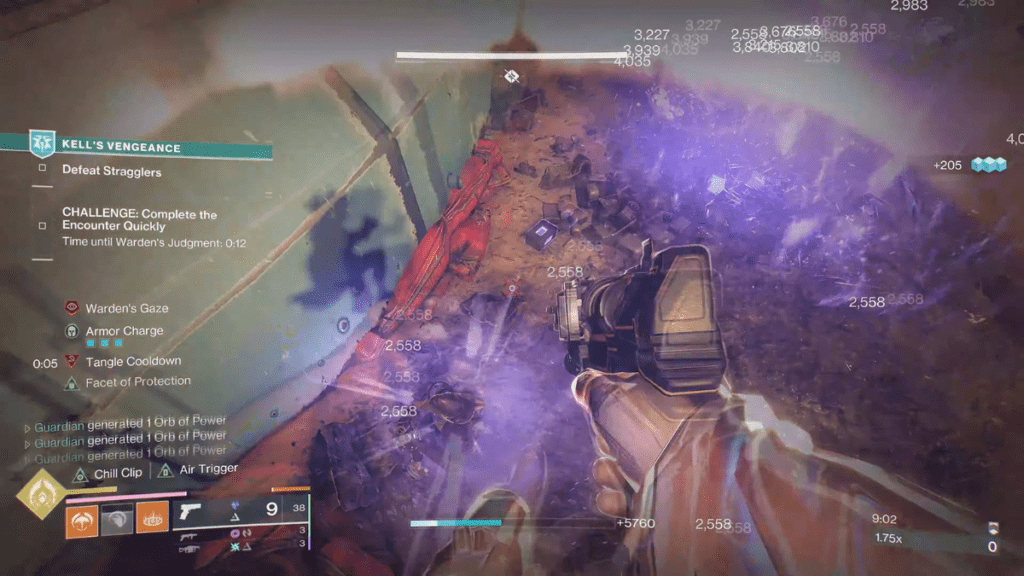
Right off the bat, you get the Warden’s Punishment modifier for this mission, which makes things all the more complicated. Once you spot the secondary objective appearing in your mission list, you and your team need to work together to complete it. Failure to do so will wipe out your entire team, and there is a time limit that you need to meet to clear the objective. This challenge appears on all three encounters within the boss arena, so you must work fast and coordinate with your team to complete it.
Each time you complete the Warden’s Punishment, you get to move on to the next arena and encounter the next challenger before you meet Skolas. We have put a rundown of all encounters during the mission and the related challenges for it.
- First encounter: Keksis, Twice-Betrayed
- Challenge: Heavy and Special ammo kills
- Modifier: Chill Touch
- Second encounter: Gladiator Brothers
- Challenge: Rapid completion
- Modifier: Famine
- Third encounter: Skolas
- No Challenge
- Modifier: Counterfeit
Destiny 2 Skolas Boss Fight Guide
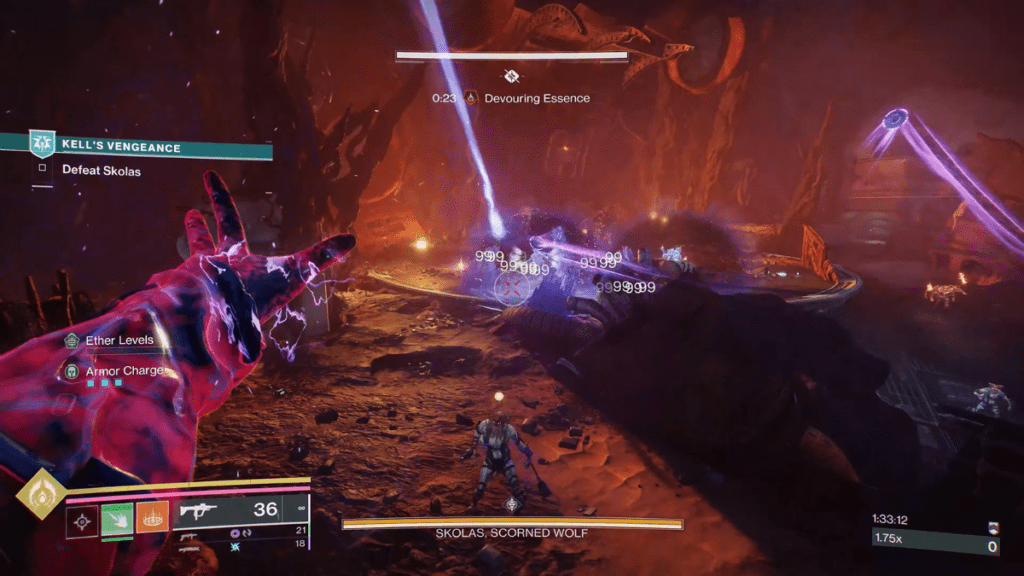
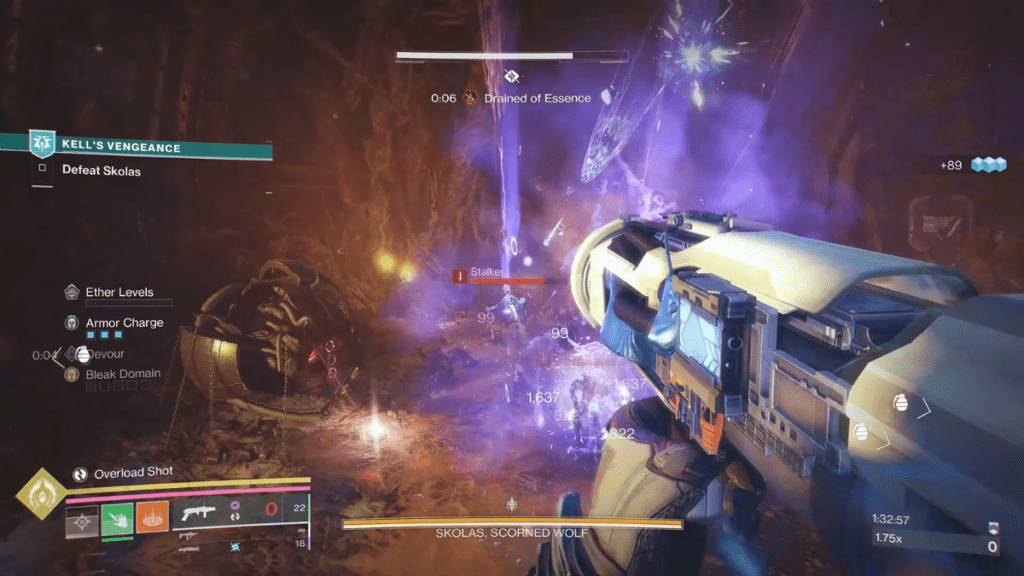
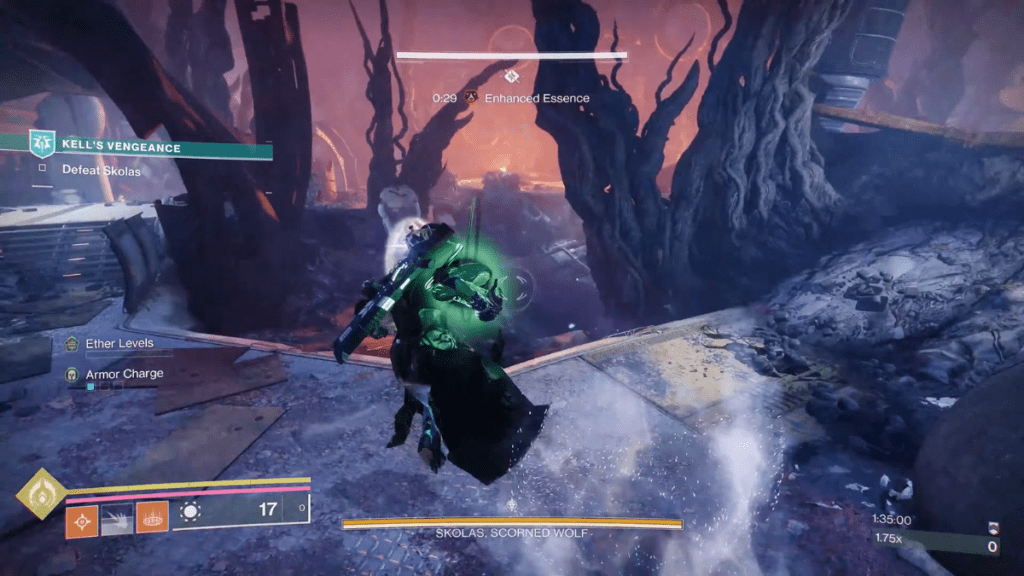
Once you reach the final arena to face Skolas, there are a few things to keep in mind. As soon as you and your team step foot into the arena, one of you will get the Devouring Essence buff for 30 seconds. If you keep the buff on you till the time runs out, you will get killed. To get rid of it, a teammate has to volunteer and get the buff off you, after which they will receive the Devouring Essence for 30 seconds. This chain of taking the buff off the player who has it should continue till the match ends.
Whoever had the buff removed by another player will receive the new Drained of Essence status for 25 seconds. The player who gets this status cannot pick up the Devouring Essence till the status is gone. It is possible to pass the buff between two players if playing a duo, but you need to keep track of the time so no one dies. Also, within the arena, are three Servitors. While juggling the Devouring Essence between your team, you also need to fill up the Servitors with Ether, and in the correct order.
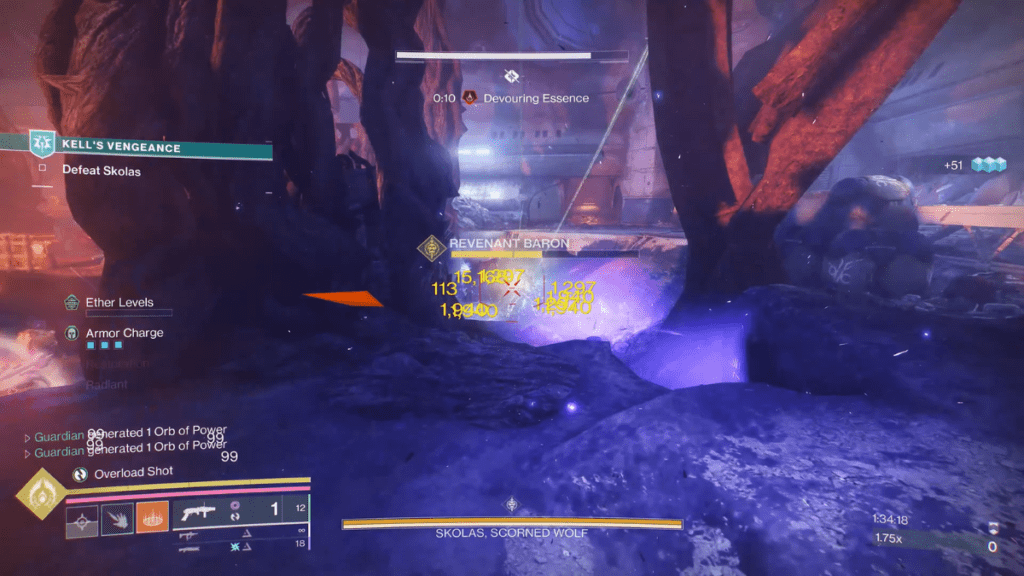
Each time a Devouring Essence has been inflicted, two High Revenants will appear near each Servitor. You need to kill them and destroy the Ether, after which a Revenant Baron will spawn. Work together to kill the Baron, after which a totem will appear. Break the totem to find a mote, and whoever has the Devouring Essence should pick up the mote to get a new status, Enhanced Essence. This status also lasts 30 seconds, and before the time ends, whoever has the status should deposit the Essence within the Servitor.
To figure out which Servitor to drop the essence in, one of the three Servitors within the arena will start glowing red and have a strange aura. It will also release morbid sounds, so quickly head over to the Servitor that looks abnormal and drop the essence. Skolas will then choose another random player to inflict Devouring Essence, and the cycle will continue. Once all Servitors are filled with Essence, Skolas will navigate to the center of the arena. Skolas won’t have a shield on it, so you can deal as much damage as you can.
But, the Servitors that are filled with essence will now release red orbs that will heal Skolas if they hit the boss. You need to shoot at the red orbs while dealing damage to the boss. A good strategy here is to assign a teammate to take care of the orbs while the rest of the team deals damage to Skolas. Another way to stop the red orbs from reaching Skolas is to create a Titan Bubble around the boss as soon as Skolas steps foot into the central arena.
If Skolas is healed completely, the current round will end and a new one will begin, you need to repeat the above steps all over again till the Servitors are filled up and Skolas appears in the arena’s center. This is the only way to defeat the boss, after which you can claim your rewards.
Kell’s Vengeance Rewards
A gilded treasure room will appear after defeating Skolas. Inside you can get some rare Tomb of Elders weapons, Tonic materials, and the Renunciation exotic ship. The ship is available only for the first boss kill, and subsequent matches will not have this reward. Besides this, you also get a random chance to get the Revenant Redress emblem drop from opening chests.
The Revenant arc introduces a great new weapon in the form of the Slayer’s Fang. Here is our article on the Slayer’s Fang God Rolls for PVP and PVE, as well as how to get the weapon.