


Dune Awakening’s quest list can be quite extensive, but you need to go through them all to progress through the game. After completing all 8 Trials of AQL, the next quest you receive will have you explore the overworld to collect a unique item. This guide will explain how to complete the Sign From Above quest in Dune Awakening.
How to Complete A Sign From Above Quest Dune Awakening
A Sign from Above quest immediately unlocks right after completing Footsteps of the Fremen quest, which is the 8th Trial of AQL. Your first task under this quest is to Reach the Wreck of Hephaestus. This can be a tough task at hand if you are unprepared, so you will require the following before you embark on this quest.
- An ornithopter
- Consumables like healing supplies
- A Radiation Suit
- A Cutteray of any kind and weapons
- A torch or light source
Wreck of Hephaestus Location
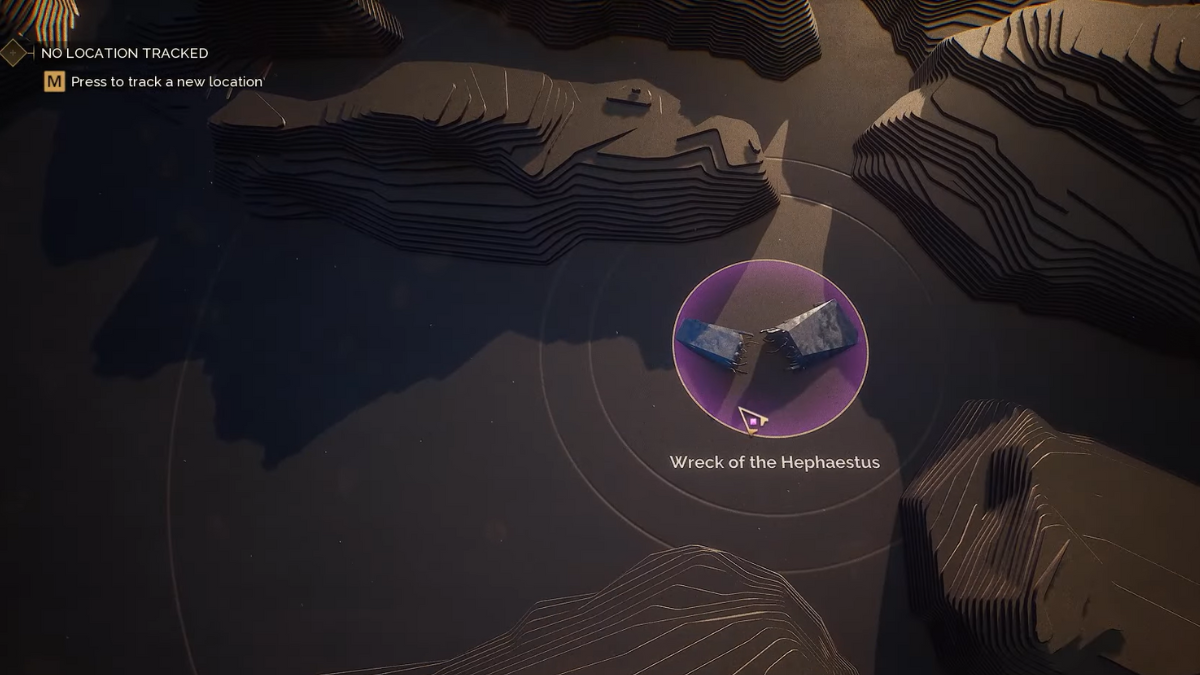
The Wreck of Hephaestus isn’t located within Hagga Basin, rather, you have to exit to the World Map. You can explore the World Map by heading over to the very edge of any region’s map. After that, make your way all the way south towards Harko Village, then head east to spot the Wreck of Hephaestus.
Find a Way Into the Cargo Bay
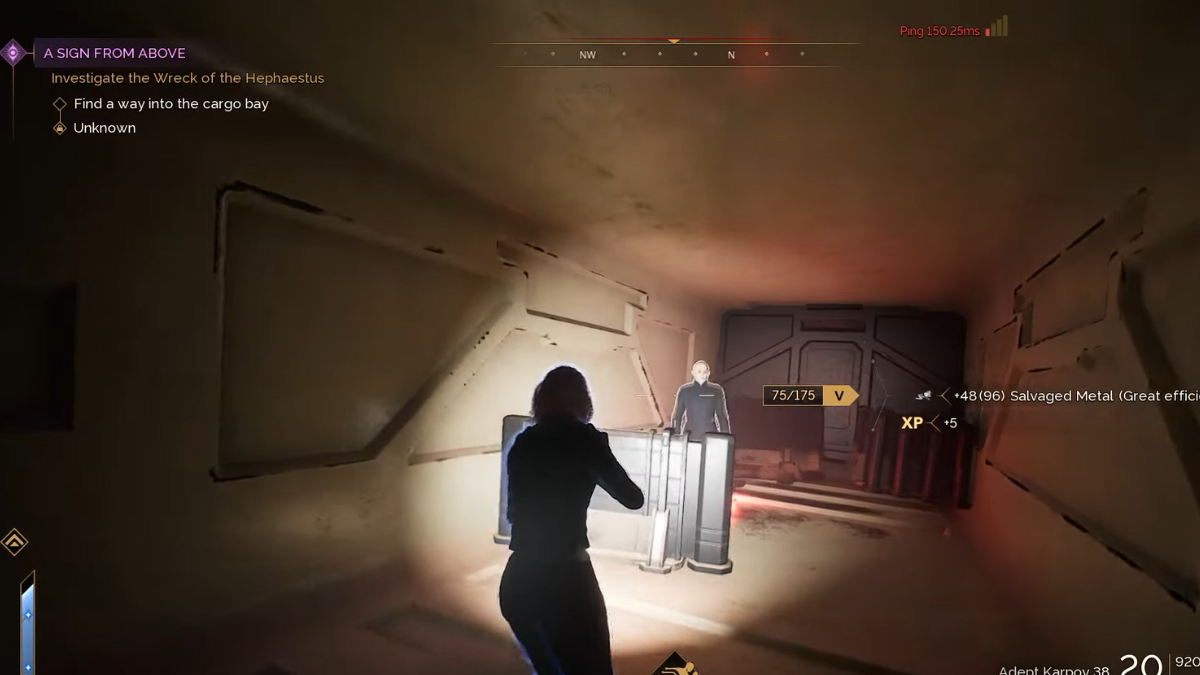
After you enter the ship, head straight to find a door beside a staircase. This can be broken down using the Cutteray. Aim at the locks on either side of the door to break it open. Follow the path inside while keeping to your right to find a container that can be scanned and opened using the Cutteray. Inside, you will spot an NPC who will give you details about what happened to the ship.
Keep going till you find a blue shield that can only be unlocked using an eyeball. You can either talk to the NPC to borrow his, or steal it from the corpse beside the blue shield. Use the eyeball on the retina scanner to unlock the shield and get the next objective.
Survive the Suboid Assault
This objective is plain and simple, use your best weapons to survive the onslaught just long enough for the NPC to turn up the power. Just keep shooting down enemies till the objective automatically changes, then follow through with the rest of the quest.
Find the Container Cargo Bay
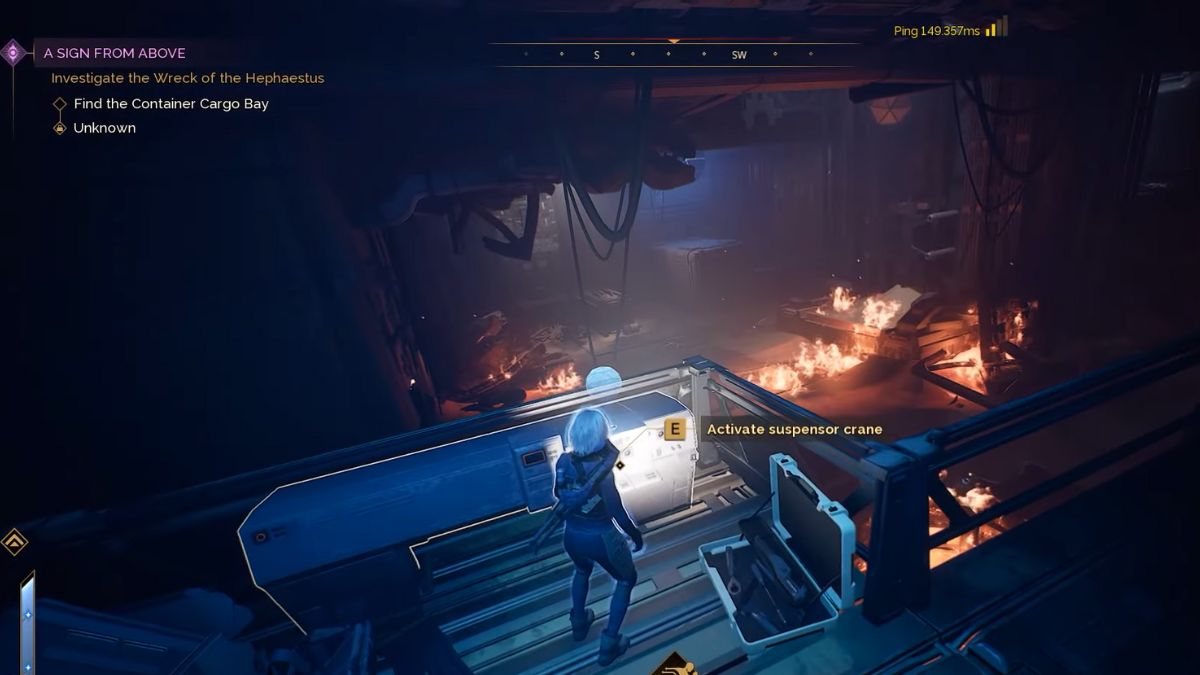
Look up around the arena to find a corner emitting a blue light. Jump up there and you will get to a platform where you can activate the suspensor crane. You will spot one of the containers ahead will move up, so you can make your way over there to explore the new area. Before you enter, equip your Radiation Suit or pop a few Iodine Pills to protect yourself.
The rest of the path is pretty straightforward, just follow the trail and keep exploring till you reach your destination. Keep an eye out for locked doors and containers that you can open and collect loot. Once you reach the second area of the Cargo Bay, you will get a different objective.
Find The Container Used To Smuggle In The Noble
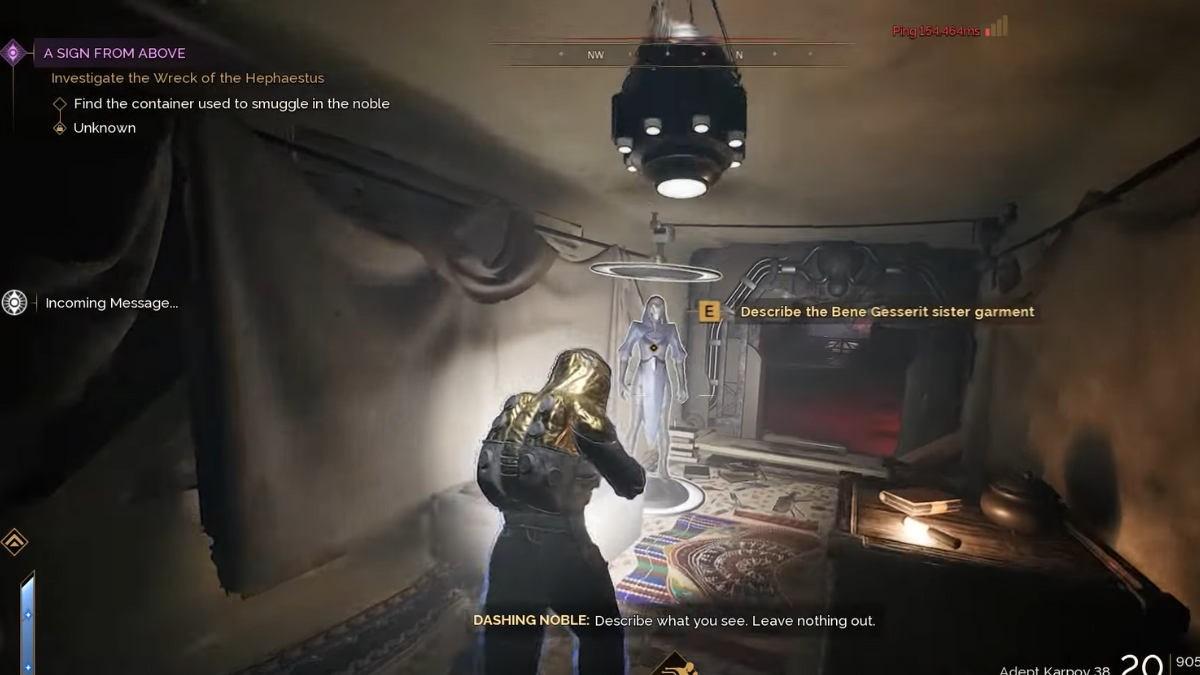
For this one, you need to scan and cut open all the containers within the area till you get the Bene Gesserit sister garment inside one of them. The container you are looking for can be found to the right of a large hanging orb. You will get an indication to describe the outfit, then you need to “Describe The Contents Of The Container” as well. Interact with the outfit, then the Communinet Device beside the outfit, then finally the Orange Catholic Bible right opposite.
Find Your Way To The Bridge Section
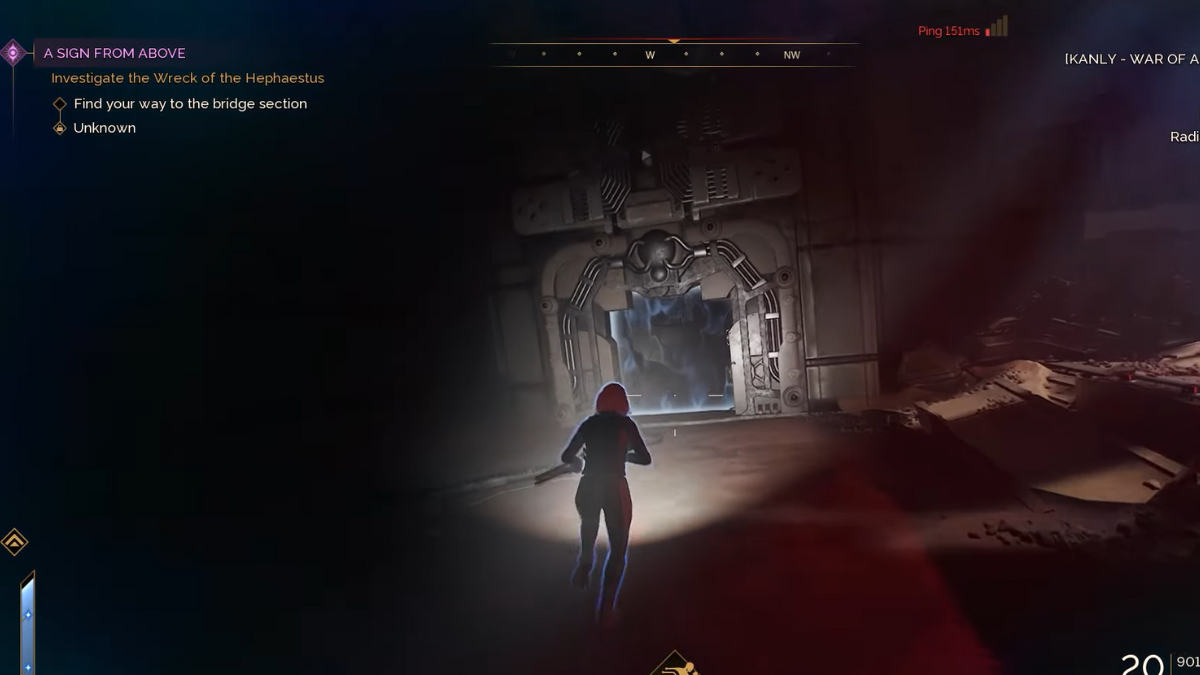
After describing the container’s contents, exit the container through the northern exit point. A little way ahead, on your left, you will spot a large door to unlock. This will lead you to the outside of the ship, and you have to travel south to southwest to find the Bridge.
You might have to climb walls, so use your grapple hook to get up those. Eventually, you will reach the other section of the ship, indicated by a blue shield blocking your way. After a brief cutscene, follow through with the next objective.
Switch off the Emergency Override
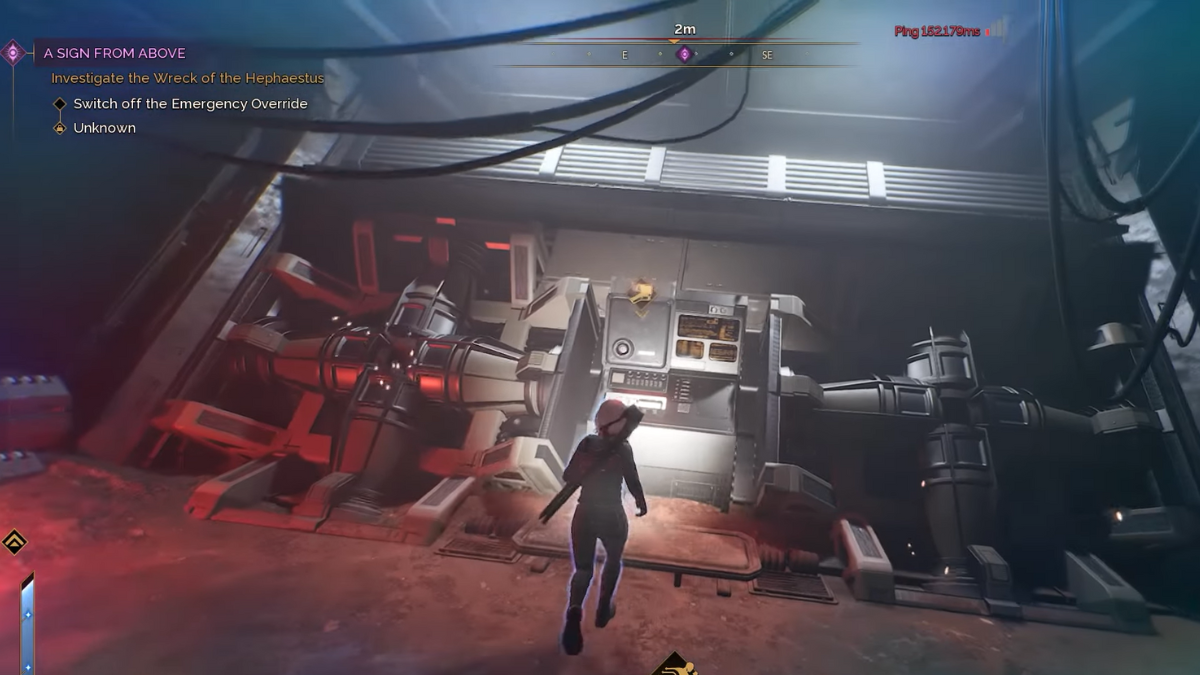
Follow the quest marker to find the first control panel that will help you turn off the emergency override. Use the Cutteray to tear open the control panel, then switch it off. Your next objective will be to “Remove the Fuse Capacitor”, but first, take care of the swarms of enemies that will come towards you.
Then, head south of the control panel, then east, then north to northeast. Keep a check to your right and follow the quest marker to find the second control panel. Use the Cutteray to remove the panel and get the Fuse Capacitor.
Restart the Power Nacelles
The objective will again change right after that, so head back to the first control panel area and turn around to find a third control panel. Cut open the panel and restart the power, then your next task would be to Turn The Auxiliary Power On. You have to backtrack to an earlier location, just follow the quest marker to find the fourth control panel and repeat the steps using your Cutteray.
Search for an Ixian Decoder
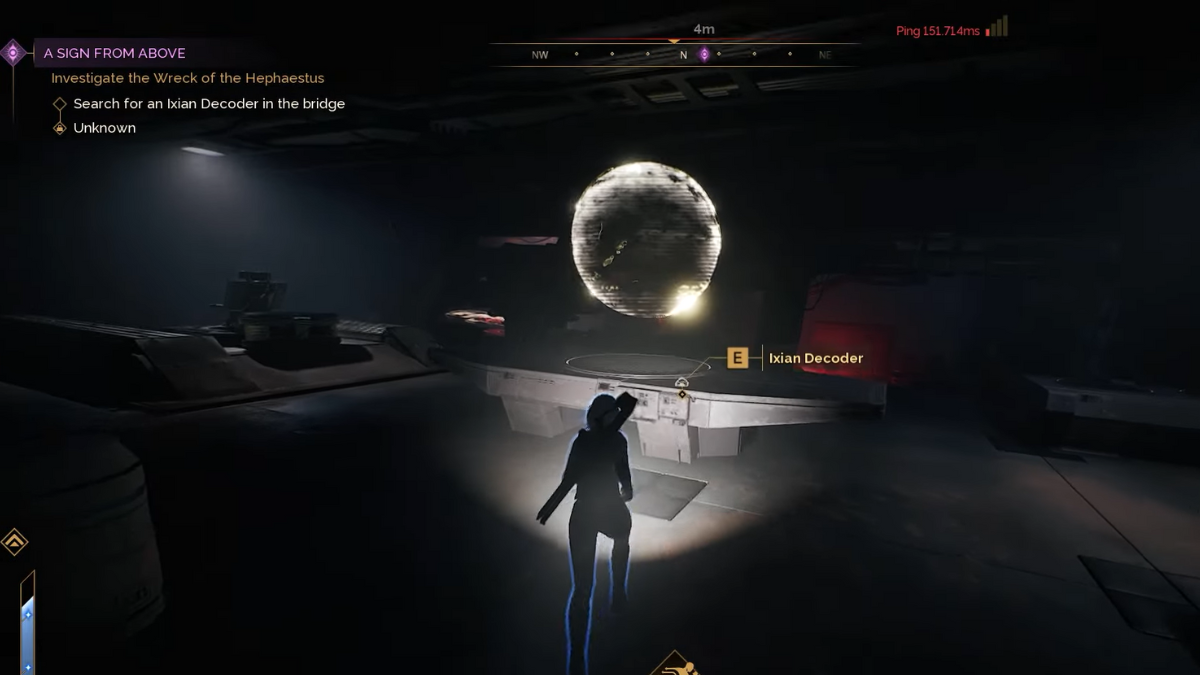
Make your way back to the first control panel, then look southwest to west to find an entrance in the corner. There will be a short cutscene, then you can interact with the Ixian Decoder on the table on the right.
Escape the Wreck of the Hephaestus
Finally, backtrack all the way out of the ship and make your way towards your ornithopter. Head back to your base to complete the rest of the objectives and the quest itself.