


The Gauntlet of Shar has a terrible rat infestation in Baldur’s Gate 3, and true to the style of the game, you have a few options regarding how you want to deal with it.
This is obvious right when you enter the location, but once you reach the area with the trial rooms, you’ll encounter a lot of rats.
The way you want to deal with these rats depends on what you want to accomplish for the quest regarding the Orthon, Yurgir.
The Gauntlet Of Shar Rat Problem, Explained
If you follow Raphael’s request and just attack Yurgir when you meet him, then you won’t learn the truth about the rats in the Gauntlet of Shar. But if you speak with him, you have the option to help him break his contract with Raphael.
To break his contract, Yurgir needs to kill every Dark Justiciar in the gauntlet. He believes that he’s killed all of them, but still isn’t free from his contract. You can offer to take a look through the area for him and see if you can find a solution.
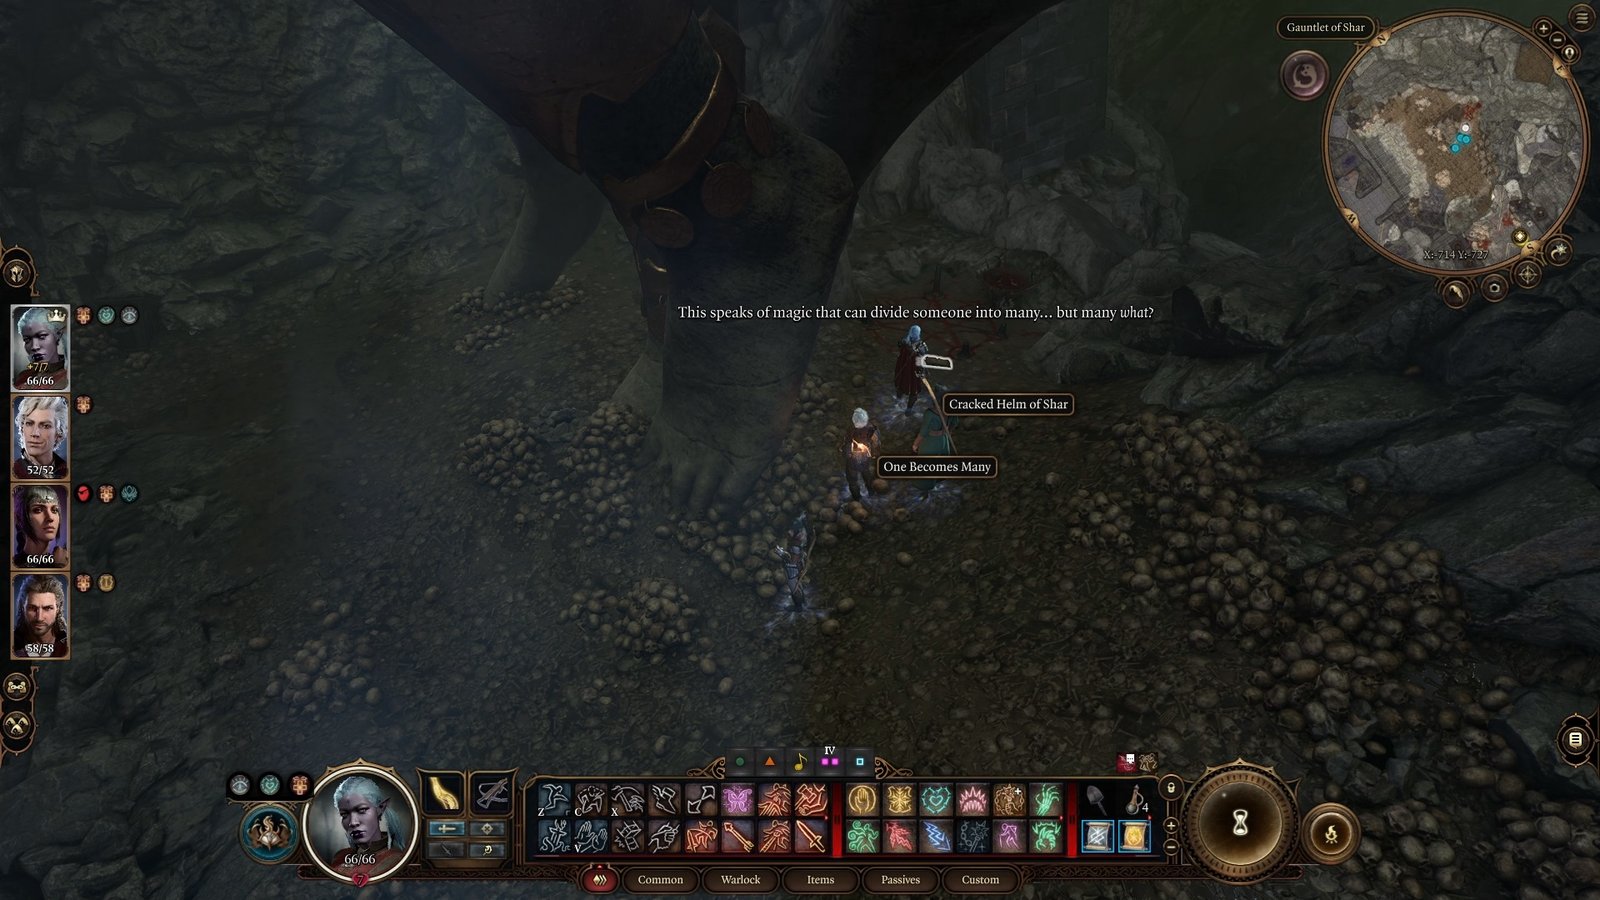
Outside of the song and Yurgir’s information, there’s not much to work with as far as how you’re supposed to break the contract. At least, that’s how it seems, unless you like reading everything you find in Baldur’s Gate 3. In this case, you want to find the book called “One Becomes Many” that’s by the feet of the Shar statue.
This book is from Raphael and includes a spell that seems to imply it makes someone into an army. The truth is that Raphael used it to help Lyrthindor, the last living Dark Justiciar, turn himself into a hoard of rats in order to escape Yurgir, and so that Yurgir would be unable to break his contract, which you also learn about if you use Speak with Dead on Lyrthindor after killing him.
Killing the Gauntlet Rats

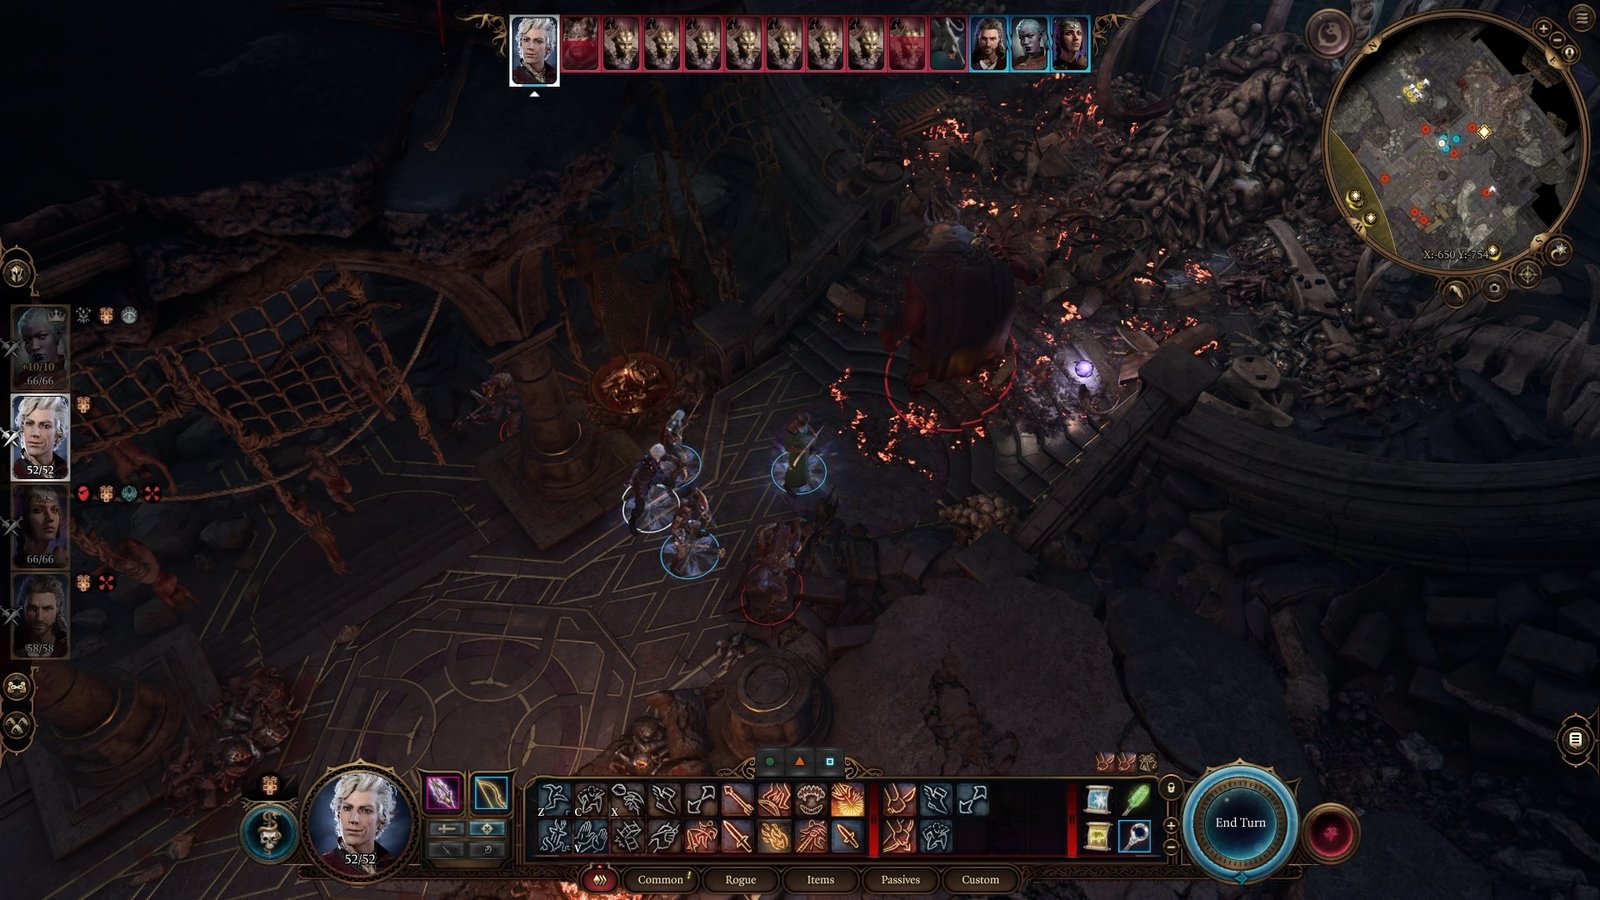
Violence is almost always an option in Baldur’s Gate 3, and this is no different. If you kill the rats, you need to go down to the base of the statue and kill all of them, which means multiple waves of annoying rats biting you. Some players have issues with Lyrthindor not appearing, which he should when you kill the rats.
The problem with Lyrthindor not appearing is almost always because you didn’t climb down the cliff to the base of the statue, which is where you’ll encounter the bulk of the rats. Without killing the rats by the statue, you won’t be able to summon Lyrthindor and defeat him.
I rely heavily on Karlach’s tankiness, Gale’s crowd control, and Shadowheart’s healing here. Since I generally play a warlock, using Eldritch Blast lets me attack multiple rats at a time without wasting spell slots.
Having Repelling Blast at this point is incredibly useful, as you can push the rats away and keep some distance from them. Since they’re melee attackers, keeping them at a distance helps you limit the amount of damage you take, especially if you make the ground around them into difficult terrain, halving their movement speed.
The individual rats aren’t strong, but the number of them is what makes the combat difficult. I like to use abilities like Thunderwave to push them away, then combine this with Grease, which slows them down. When Grease is about to wear off, you can use a fire spell on it to ignite the area, causing burn damage to the rats that are caught in it.

When you finish killing the rats, you learn that they were the last Justiciar that needed to die to free Yurgir from his contract with Raphael. If you choose this route, Astarion will be upset that you freed Yurgir from his contract and might end up leaving your party here.
You can convince Astarion to stay, but it’s going to be easier to leave him at camp for his part to keep him in your group. Additionally, you can go kill the rats first, then speak with Yurgir for the first time. You get credit for the quest, and Yurgir is friendly from the start.
Alternatively, you can kill Yurgir for Astarion’s quest, then kill the rats as well. It’s not the most beneficial series of events, but Baldur’s Gate 3 gives you the freedom to approach quests in multiple ways.
Calling a Truce
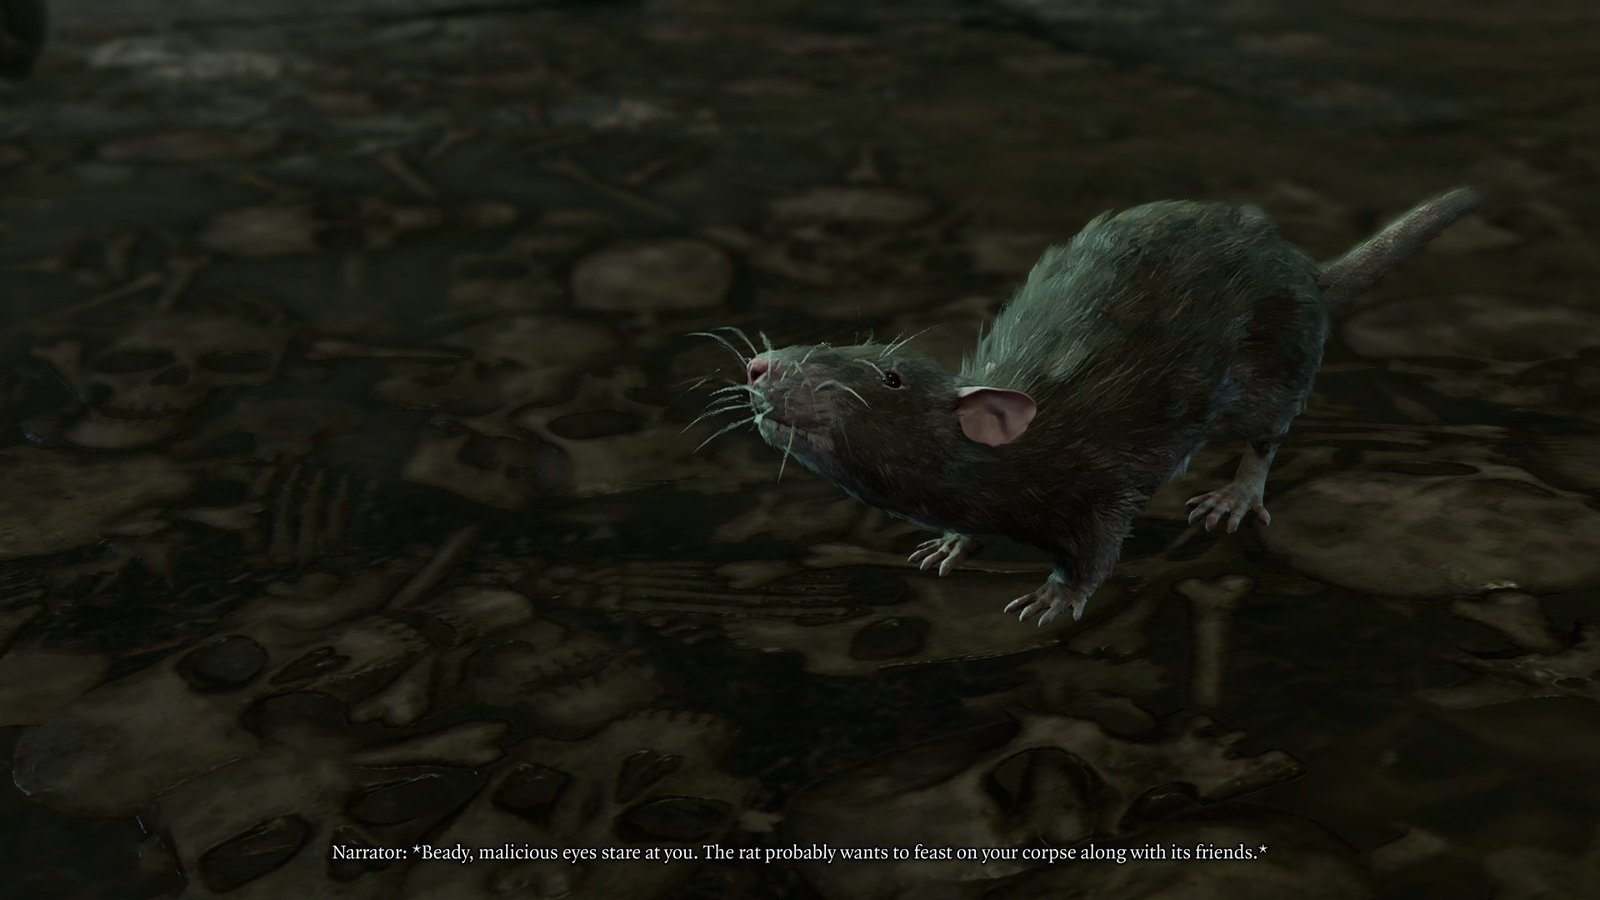
If you have Speak with Animals available as a spell or scroll and have it active, then the rats will call for a truce after you kill a few of them.
Agreeing to the truce leads to the rats telling you the location of a stash that you can go collect. This stash is full of junk, so it’s not worth the time to track down.
As a result, it’s generally not worth negotiating a truce with the rats. If you aren’t planning on freeing Yurgir from his contract, then I recommend simply skipping the rats and moving on through the Gauntlet. It saves you time and resources, which you might end up needing later when you deal with the Nightsong.
Encounters and Rewards

If you first attack the rats at the Shar statue’s feet that appear when you interact with the candles and effigy, then you only have to kill the ones that join the fight there, and then Lyrthindor, to finish the quest and free Yurgir.
While annoying, the rats aren’t special enemies. There’s just a lot of them. Lyrthindor can knock you prone and uses mostly necrotic spells, but can use crowd control abilities like Sleep, too.
Killing Lyrthindor lets you loot the Justiciar’s Greatshield (cast Darkness on yourself to hide and gain advantage on Perception checks) and Justiciar’s Scimitar (blinds your enemy if you have advantage) from his body.

Additionally, turning in the quest to Yurgir gives you the Umbral Gem he has and Boots of Brilliance (replenish Bardic Inspiration). He’ll also be your ally against Raphael in the House of Hope.
Killing Yurgir can be done without a fight if you pick the right dialogue options and persuade him to kill himself. However, if you fight him, you’ll also be up against his many minions.
I had a tough time with this fight, and I relied heavily on crowd control spells like Sleet Storm to keep the minions as contained as possible. Persuasion is the easiest choice, but you have to pass a series of skill checks.
If you kill Yurgir, you gain reputation with Astarion and Raphael will tell you about his scars. Just like freeing him, you still get the Boots of Brilliance and the Umbral Gem.
However, you pick up Infernal Metal and the Hellfire Hand Crossbow (can set targets on fire) instead of the Justiciar items. If you want the Justiciar items, too, you can go kill Lyrthindor even after killing Yurgir for his loot.
Finally, making a deal with the rats gives you the location of Sharran Provisions and prevents you from breaking Yurgir’s contract. These items can be found without making a deal, but won’t be marked on your map and you have to seek them out. Inside the provisions, you get gold, a Divine Bone Shard, an Eagle Feather, and Hastening Spores.
Overall, your choice mostly depends on if you want to help Astarion. Since Yurgir is tied to his companion quest, killing or saving him impacts Astarion the most, and your choice can lead to Astarion leaving the party.