


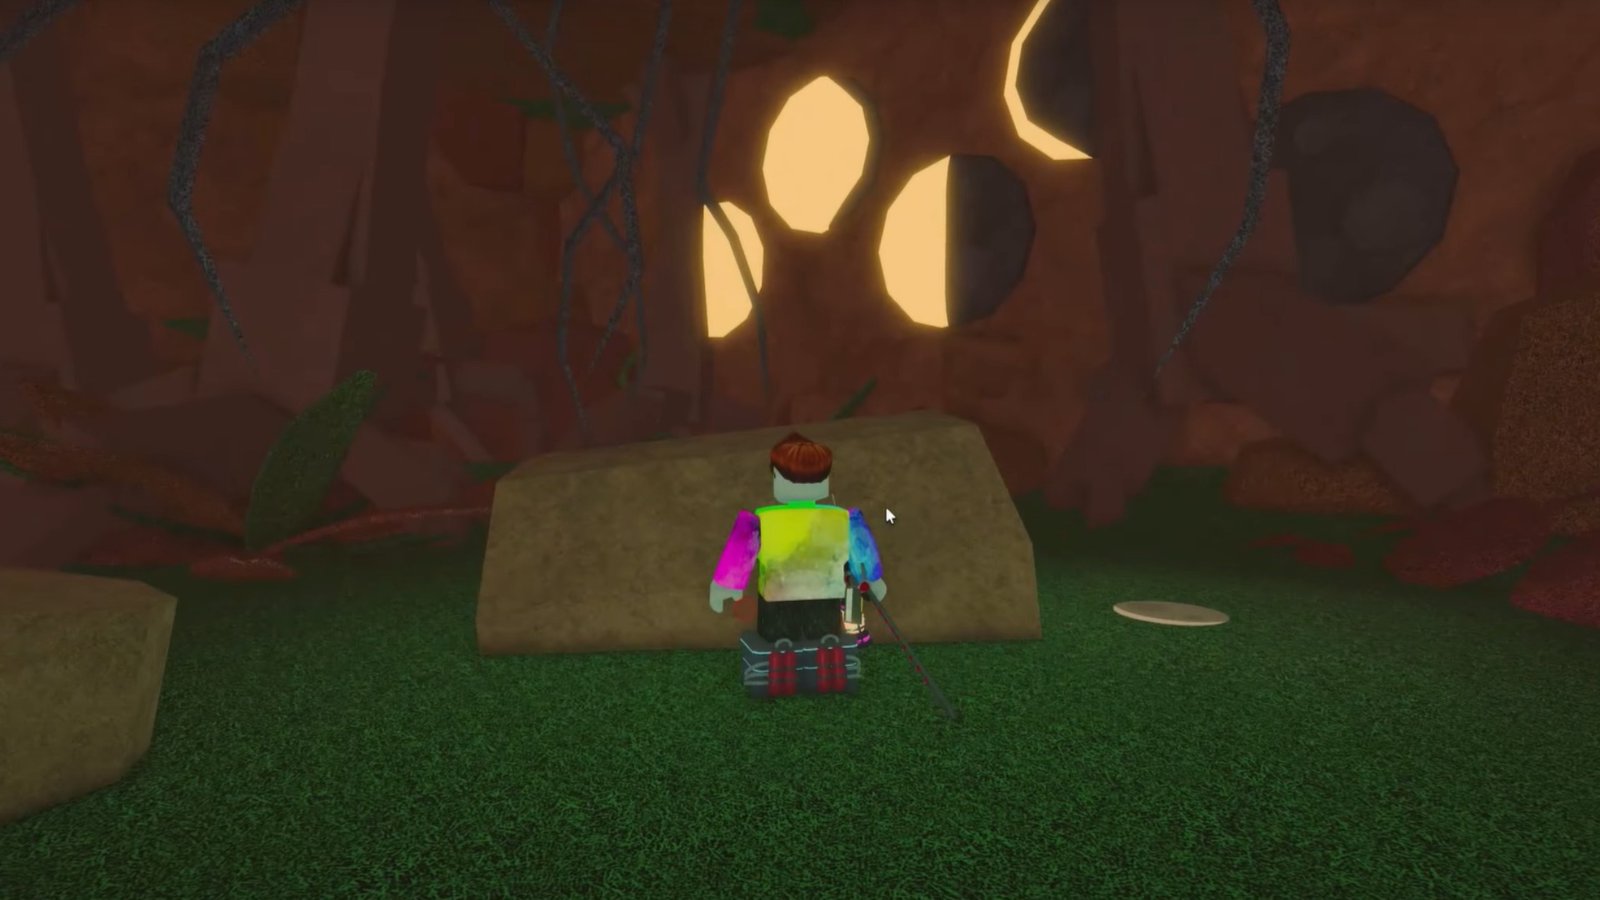
Fisch’s latest update, the Jungle Update, has introduced lots of jungle-themed content, including a secret location known as the Forgotten Temple. This puzzle-filled area is located at the Lost Jungle Island, behind the Sunstone Island, at coordinates -2603, 161, –2190. Here, you’ll find an opening with a rope attached, which can be used to enter the Forgotten Temple. Inside the Temple, there will be five puzzle rooms that you need to solve. Since they’re a bit tricky, here’s how you can complete all the Forgotten Temple puzzle rooms in Fisch.
Forgotten Temple Puzzle Room #1: Platform Puzzle

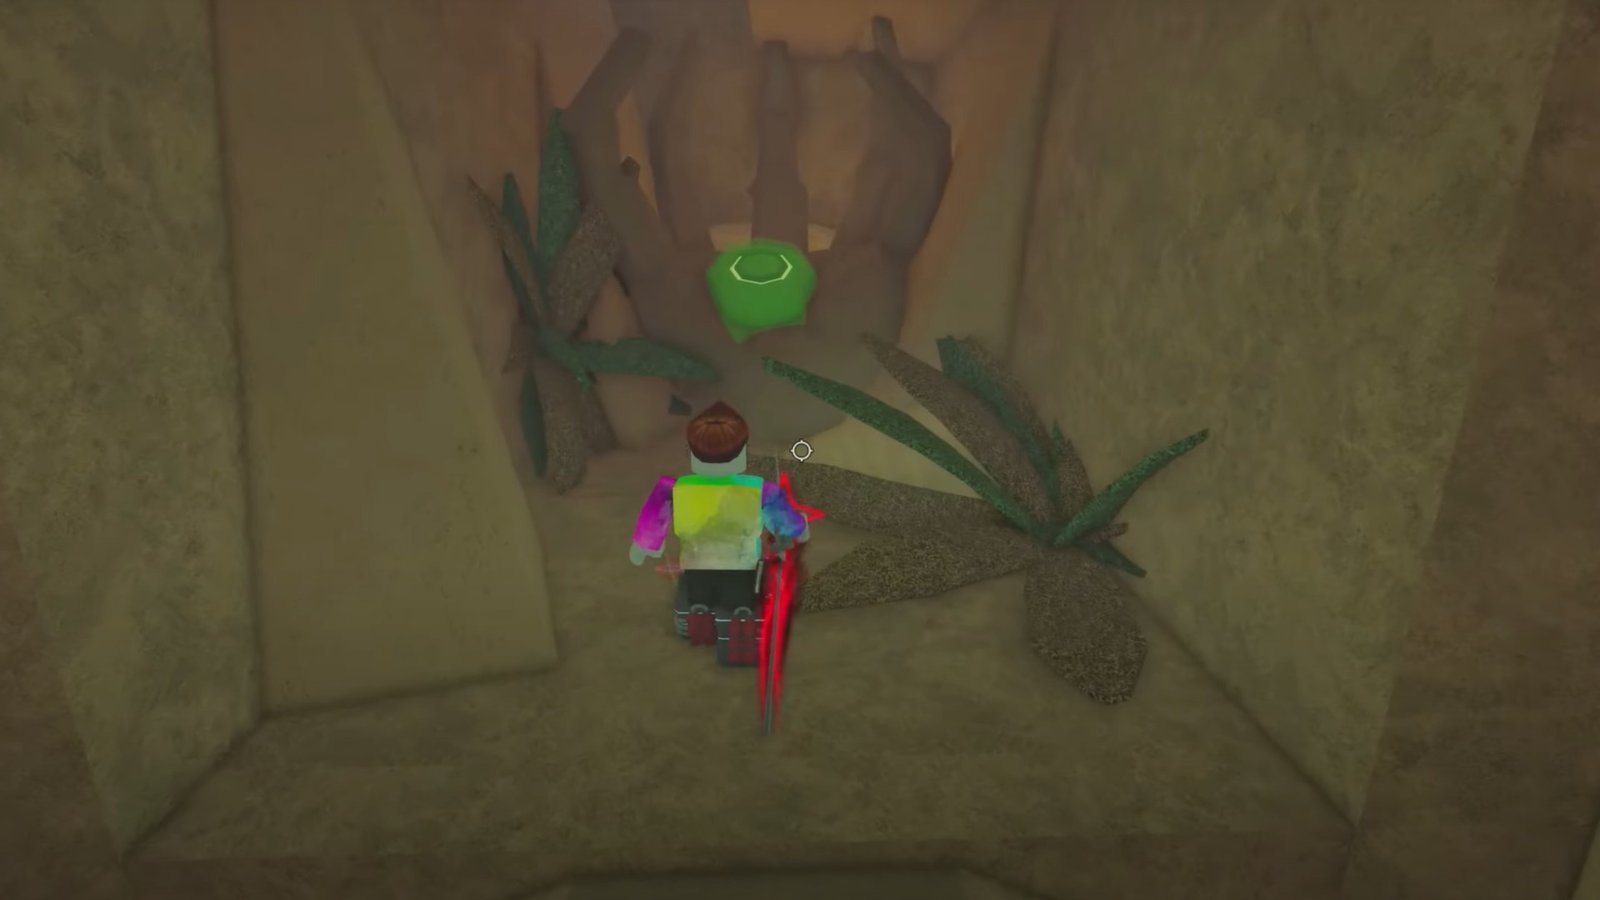
Here’s the solution for this puzzle: Triangle -> Square -> Square-> Triangle -> Circle-> Triangle-> Square-> Triangle-> Circle. When you drop down to the Forgotten Temple, you’ll meet the Jungle Adventurer NPC, who will offer you an object called the Temple Eye, which allows you to teleport to the Main Temple Door. Once you’ve received the Temple Eye, go right from the rope and follow the path ahead. When you get to a cross section, turn right and you’ll come across the first puzzle room, with a roman numeral “I” etched on the ground. For your convenience, the coordinates for this room are (-5234, -1758, -9620) on your GPS.
When you reach the room, you’ll be greeted with an Indiana Jones-esque puzzle, which requires you to step on the correct platform to get to the other side. Enter the sequence as mentioned above to solve the puzzle. Once you reach the other side, jump on the stone hand to receive the Poisonous Spearhead and the Glyph Rune.
Forgotten Temple Puzzle Room #2: Obstacle Course
To get to the next puzzle room, exit the first one and continue. When you’re at the cross-section, turn right and follow the path ahead. You’ll come across the fifth puzzle room on your right. Ignore that for now, and go to the opposite side on your left and continue on the following path. You’ll eventually come to a place with broken-down pillars on the right, with the Roman numeral “II” above it. The coordinates for this room are (-4642,-1748, -10193).
Head through the door with the Spear icon, and you’ll come to the second puzzle room, which is basically an obstacle course. All you have to do is keep climbing up using your parkour skills and the ladders on the wall before the water level rises, and you’ll reach the top eventually. At the top, you’ll find another hand with Toxic Core and Toxic Rune. Interact with them to add to your collection.
Forgotten Temple Puzzle Room #3: Spike Room

For the next puzzle room, you need to head back to the spawn area. Follow the route for the first puzzle room, and you’ll find the third room to the left of the fourth room on your way. If you’re confused about where to go, follow the coordinates (-5405,-1759,-10231) on your GPS to get to the desired location. You’ll find the third room’s opening with the Roman numeral “III” etched onto the floor.
This is the spike room, where you’ll have to walk through the center and follow the path ahead by balancing yourself well, and avoiding the spikes on the walls. There will be intersections, but it’s easy enough when you know which path to take ahead: Right->Left->Right->Left->Left->Left. From the intersections, turn to the following ways, and you’ll reach the end of the room with the third hand, offering you the Barbed Spearhead and the Spike Rune.
Forgotten Temple Puzzle Room #4: Moon Vine Trial
The solution for this puzzle is to pull the Vines for the Moon Symbols in the following order:🌕->🌖-> 🌓->🌒-> 🌑. To reach this puzzle, use the Temple Eye to teleport back to the Main Temple Door, and turn right from there. Go straight ahead, and you’ll come to the fourth puzzle room, with the helpful Roman numeral “IV” above the door to the room. For an easier walk back, head to the coordinates (-5172, -1759, -10329). This puzzle room will consist of Moon Symbols, and you need to pull the Vines in the correct order to unlock the stone hand from the vines’ grasp.
Once you’ve performed it in the correct order, you’ll be able to obtain the Vine Line and Vine Rune from the stone hand above, latched onto the Vines.
Forgotten Temple Puzzle Room #5: Invisible Path Puzzle
The fifth puzzle room will be located on the way to the second puzzle room, at coordinates (-4848, -1759, -9580) on your GPS. You’ll find the room to the right, with the Roman numeral “V” on top of the door to it. Inside the room, you’ll be greeted with a pond, with the stone hand being on the other side of the pond. What you need to do is look above for the invisible path route and walk slowly on the pond according to it, following the route very carefully. It’s tough and tedious, but with patience, you’ll reach the other side of the room.
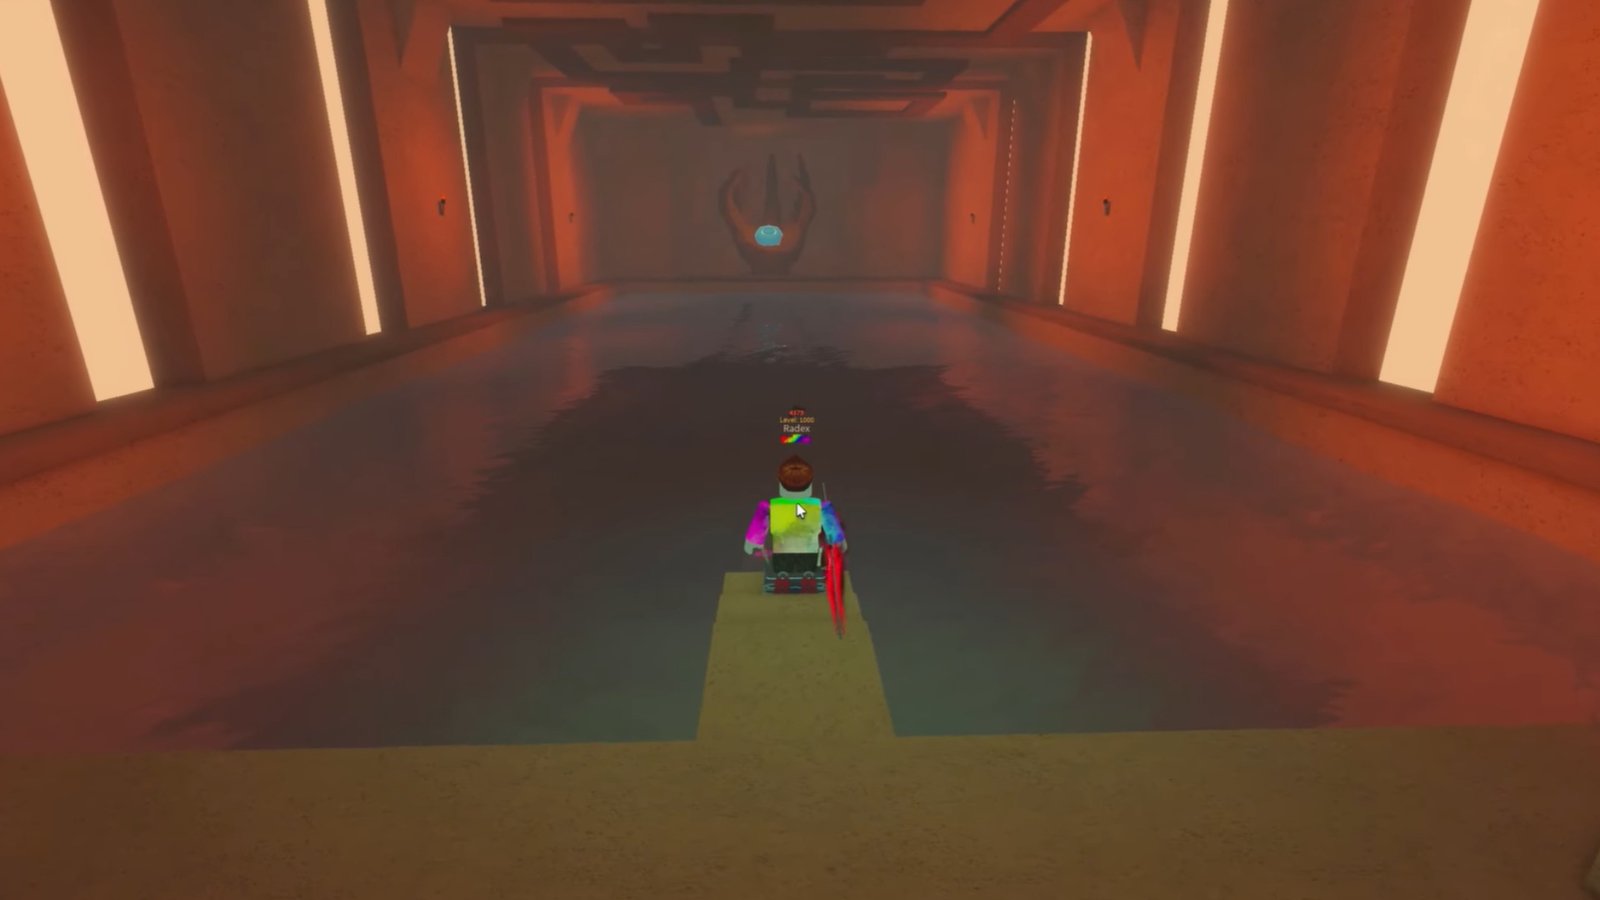
From the stone hand on the other side, you’ll get the Murky Thread and Water Rune. Once you’ve solved all five puzzle rooms, teleport to the Main Temple Door and place the Glyphs on the pedestals in front to open the Mossjaw Rest. That’s all you need to do to complete the Forgotten Temple puzzle rooms in Fisch. For more guides on this Roblox fishing experience, check out the ones on how to get the Secret Block Boat and the Secret Boom Ball Rod.