


In Avowed, like any good RPG, you get to make some tough choices that do have an impact on the story. As part of An Untimely End main story quest, you will be sent out to gather clues about your killer’s whereabouts, which will lead you to Ygwulf. There are a couple of choices you can make after hearing him out, and this guide will cover all the choices and consequences regarding Ygwulf in Avowed.
An Untimely End Quest Guide
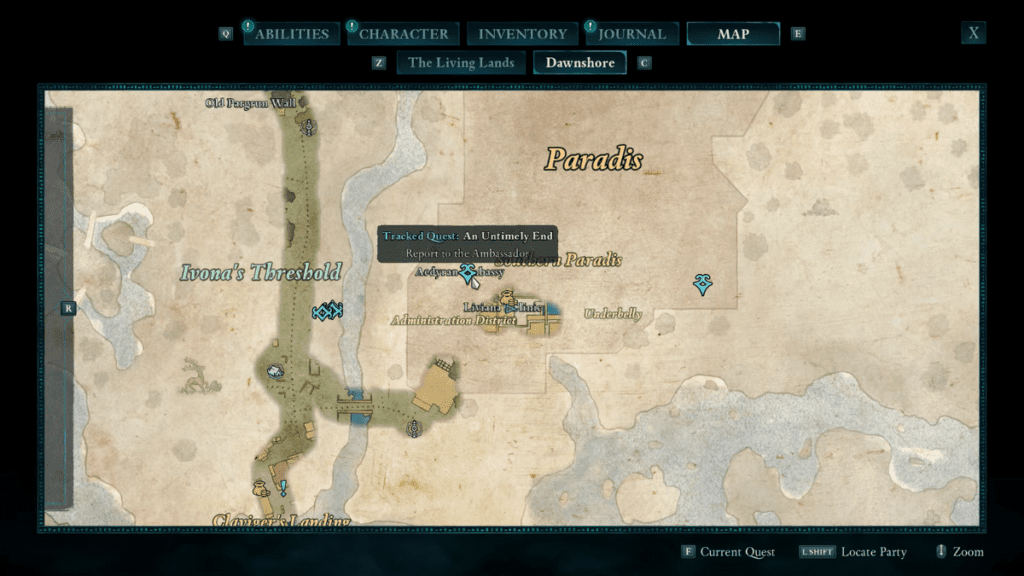
After your revival at the town’s medical center and talking to Llviana, you will get two options on how you wish to continue with the quest. You can either Report to the Ambassador or Find the Watcher. You can do either, it doesn’t matter what you pick here. I chose to head over to the Ambassador first and that helped me get to know the whereabouts of my eventual companion, Marius.
Investigate the Crime Scene
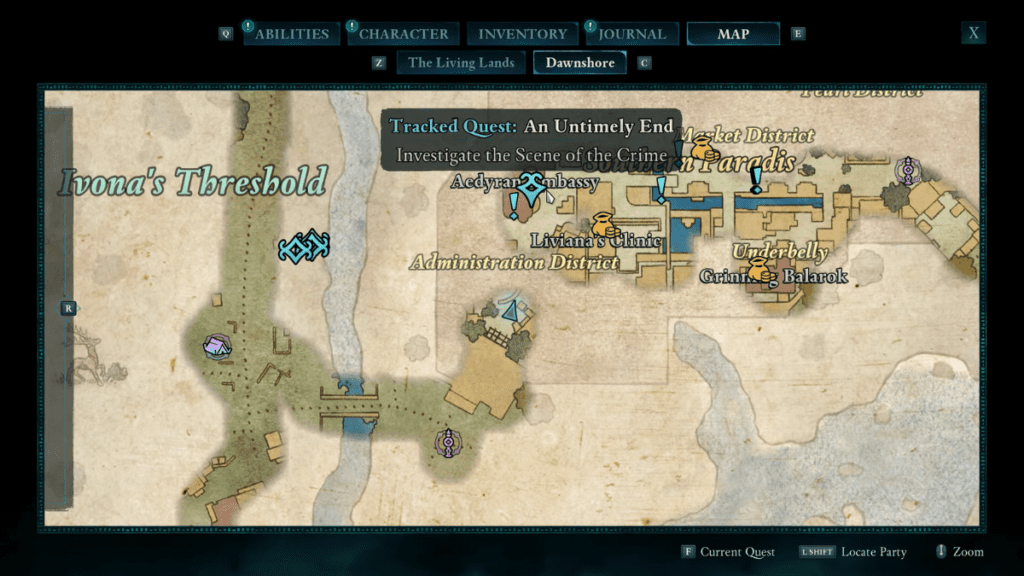
Head over to the Grinning Balarok within the town to locate Marius and recruit him as your companion. While talking to him, he will tell you that he wishes to investigate the scene of the crime. Head back to the main entrance to Paradis and step on the bloodstain to view a cutscene. He will then tell you that the killer would have to shoot from a high vantage, and will tell you to scale the Aedyran Embassy. Make your way to the top of the embassy to find a balcony with a Flask of Poison resting on the railing.
Talk to the Apothecarist
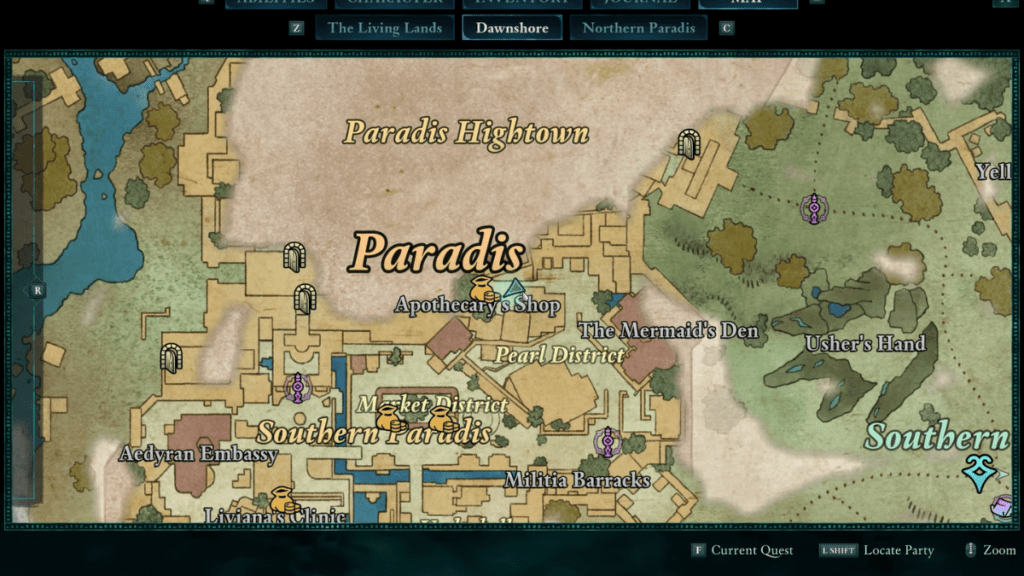
With this evidence collected, visit the Apothecarist at the outskirts of Paradis Hightown. You will find the Apothecary’s Shop in the center of Pearl District. Once you approach the store, you will spot the vendor being heckled by a group of rebels. Get ready for a tough fight before speaking to them. After defeating all the smaller enemies and the boss, you can speak to the Apothecarist to know more about the Flask of Poison and the person who purchased it.
Visit the Watcher (Optional)

Optionally, you can visit the Watcher at the far eastern section of the map, outside Paradis city. Speaking to the Watcher gives you an insight about the vision that you had while you were dead. Also, on your way to meet the Watcher, visit Watcher’s Mirror to collect the Remembrance of Kishimal ancient memory, which increases your max health. Don’t forget to pick up the Drawn In Winter Unique Axe on your way out.
Locate More Clues
There are now two areas for you to investigate. Right now, you know that your killer might be a mage, so check around Claviger’s Estate in Northern Paradis or the Temple of Ondra. If you wish to hurry up with the quest, then head straight to Claviger’s Estate, defeat all the enemies inside, then investigate the estate to pick up clues. Heading to the Estate will mark both this and the Temple of Ondra options as completed.
Check Around Claviger’s Estate

What you should be looking for while exploring the estate is Claviger’s Journal, Secret Page. You find it behind a locked door upstairs, and you can get inside either through the roof or by lockpicking. It will require 3 lockpicks to unlock the door if you haven’t located the key. To get inside the room for free, head up the other staircase, take the ladder on your left when you head out the balcony, then head left. Enter through the doorway to reach the other side of the locked door.
Pick up the Journal page, the Cistern Key hanging beside the door, and the White Key Cameo up in the attic. Now that you have the Cistern Key, you can explore the underground Cistern beneath the Temple of Ondra, so make your way over there next.
Explore the Cistern and Find Ygwulf
Head over to the Temple of Ondra located in the Street of the Gods district, then use the Cistern key on the locked door on the left. There are tons of bandits and spiderling enemies inside, so get ready for the tough fights ahead. Follow the quest marker around the underground passages. Along the way, you will encounter areas that are tough to reach and surrounded by water. Freeze the water using any ice spell to reach platforms that would otherwise be off-limits.
Eventually you will reach a dead end, where you can spot a corpse. Loot the body to get the Lower Cistern Key, then make your way back to the starting area where you defeated the bandits and use the key on the large locked doors. Follow along the path ahead while avoiding traps, bandits, and other enemies. Head up to the upper levels to find a door, where you can find Ygwulf behind the door.
All Ygwulf Choices and Outcomes
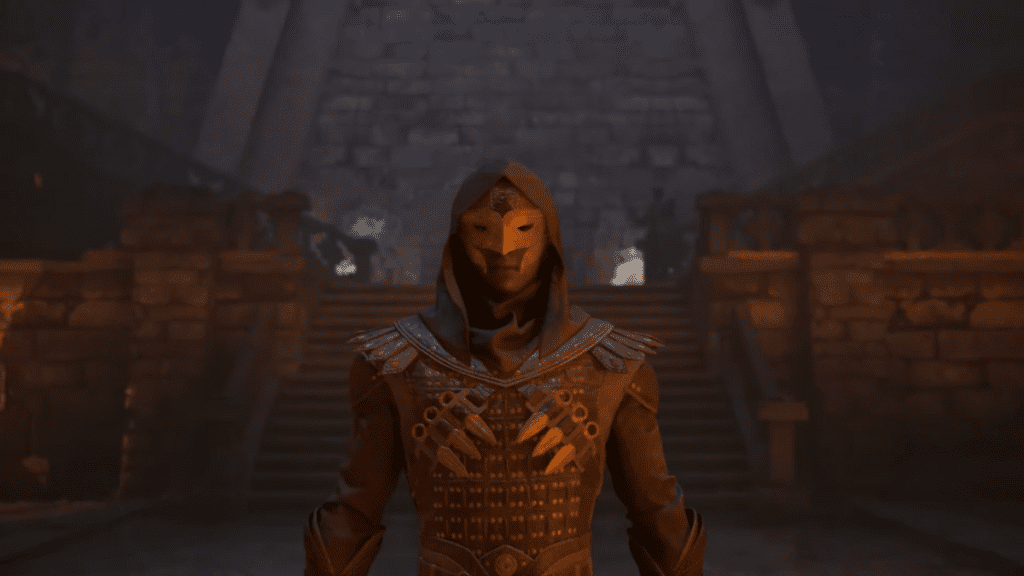
The choice you make about Ygwulf will impact the type of ending you get in the game. You can choose to spare him, kill him, or turn him to the authorities. Below are all the choices and their outcomes.
Turn in Ygwulf
You can ask Ygwulf to confess to the Steel Garrote himself, but this won’t end well for him. He will later be executed, and you will also find your friend Garryck dead by the hands of the rebels. You can then report to the Ambassador and receive 1,500 Currency as your reward. But throughout the rest of your playthrough, you will constantly be attacked by rebels.
Spare Ygwulf
After listening to Ygwulf and deciding to spare him, he will thank you and reward you with 625 Currency and Adra. Return to the Ambassador to report your findings, but he will be upset with the outcome. While things don’t look too favorable for you from his perspective, the rebels will regard you as an ally. Also, the voice called Sapadal will gain some insights about this interaction.
Kill Ygwulf
You can hop into the fight and defeat Ygwulf yourself, after which you can claim his Blackwing Armor, some currencies, and some Adra. You will still get the same rewards from the Ambassador as you would get for turning him in, and the Ambassador will consider this a win.
Which Choice Should You Choose
If you are looking from the standpoint of the rewards obtained from this quest, then it is best to kill Ygwulf and collect his exotic armor. With the Blackwing Armor, you gain a 30% increase in Stealth Attack Damage as well as a +25% increase in Movement Speed while crouching.
Sending him to the Steel Garrote is the worst option, as you don’t get a lot of rewards and the outcome looks grim all around. Plus, Ygwulf’s fate has already been sealed, even if you choose to spare him. He will be later killed off as part of the main story anyway, so you might as well kill him yourself to get the loot.
How To Beat Ygwulf
Killing Ygwulf is a bit difficult, so it is best to backtrack before entering his lair to level up. I was at level 7 during the fight, and I strongly recommend that you do some exploration, complete a few side quests, get better weapons, gear and skills before this fight. Collecting all 7 Totem fragments is a good idea here, as they give you useful passive bonuses.
Ygwulf Fight Preparation
You can either upgrade your existing equipment, or save up money to get something better. You will also need to upgrade your and your companion’s abilities to give them more offensive attacks. Stock up on your consumables as well, either by cooking or visiting merchants to purchase potions. Once you are prepared, make your way back to Ygwulf to start the fight.
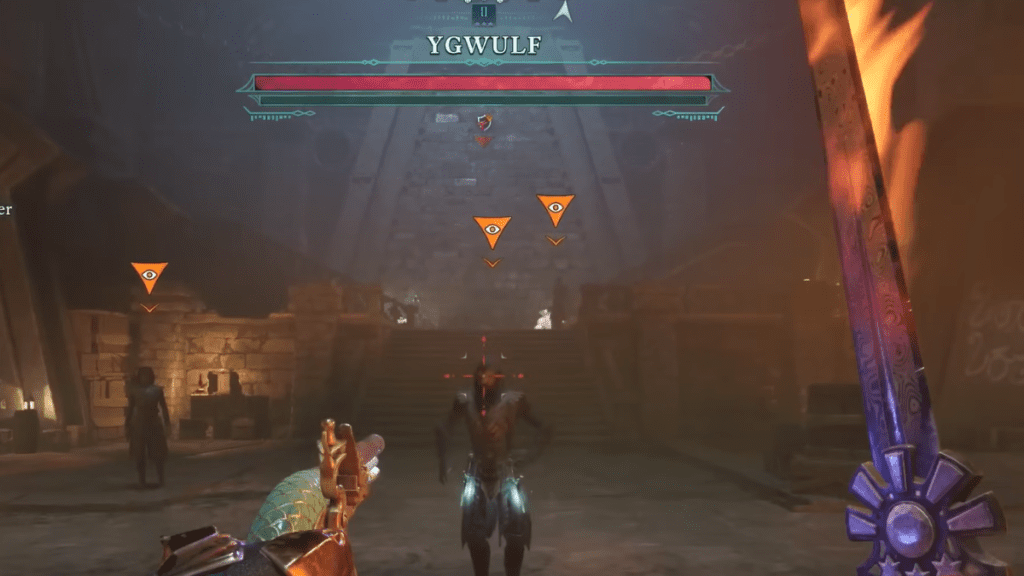
Ygwulf Fight Guide
Throughout the fight, Ygwulf will be surrounded by his allies, so you will require tons of crowd-controlling attacks. Using your spells here will help you out, especially if you have the Grimoires of Greater Elements and have your Grimoire Mastery upgraded to 1 level. You can also utilize Kai and Marius’ abilities to tackle them, so use them when you are in a pinch. Grenades of any kind are a lifesaver here, and are perfect to deal with tougher crowds during the later stages of the fight.
There are two stages to the Ygwulf boss fight. Both rounds will call upon several rebels to come at you in waves, which can make things difficult as you try to get to the boss. Deal with the rebels first before you get to Ygwulf, or they will just hold you back. If you notice that your companions are down, you need to revive them instead of going into battle yourself. If you have the Dream Touch ability, keep it active when you see any of them down to quickly heal them up.
It might take several tries to completely beat Ygwulf, as in the second round of the fight, he just comes back stronger and in full health. You have to keep trying, or improve your build some more, before you can actually defeat him. While this isn’t the easiest of fights, you can still pin him down with the help of your companions and some stronger gear.