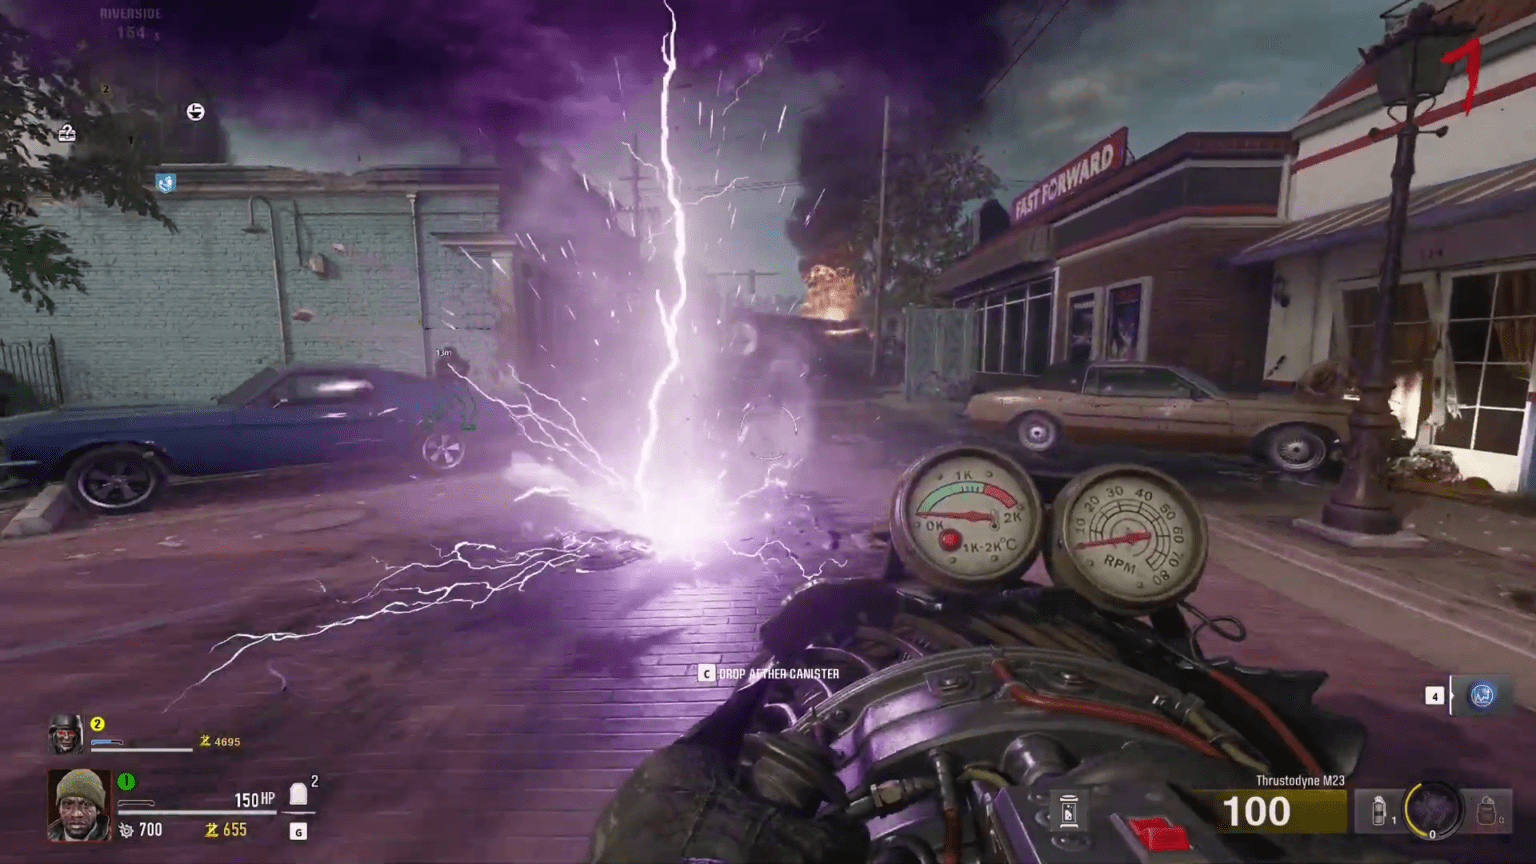
The intel in Liberty Falls are some of the most hidden-away secrets in Black Ops 6. Most of the intel here are tied to the set of side quests, you must complete one side quest or acquire a specific gun to find another set of intel. Since most of these intel are interlinked, it can be difficult to find them in the game. The guide here will help you navigate the Liberty Falls map to find all the intel in the city.
All Intel Locations In Liberty Falls
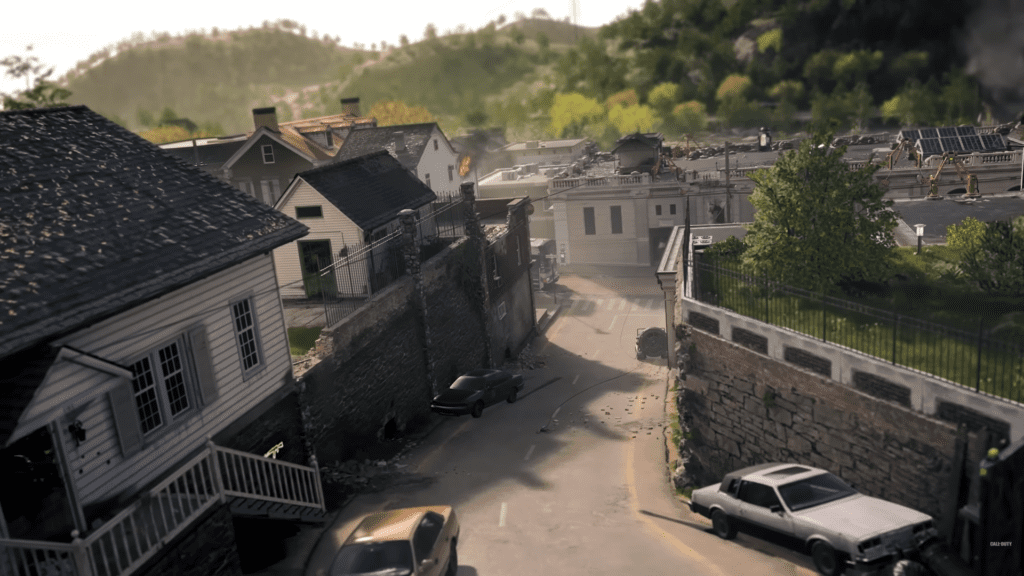
The intel in Liberty Falls has three parts;
- Audio Logs x9
- Documents x4
- Artifacts x 5
All 9 Audio Logs Locations In Liberty Falls
Conspiracy Theorist Audio Log
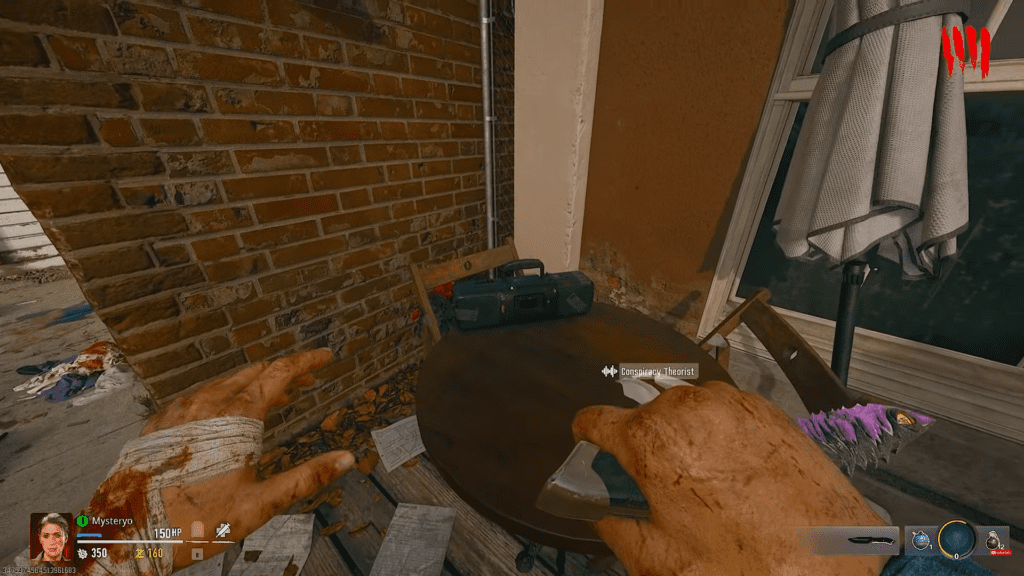
Hint: Street Smarts
Location: Washington Avenue
Head to the main intersection of Liberty Falls. Then go to the table on the left of the Speed Cola Perk-A-Cola location.
One Lit Match Audio Log
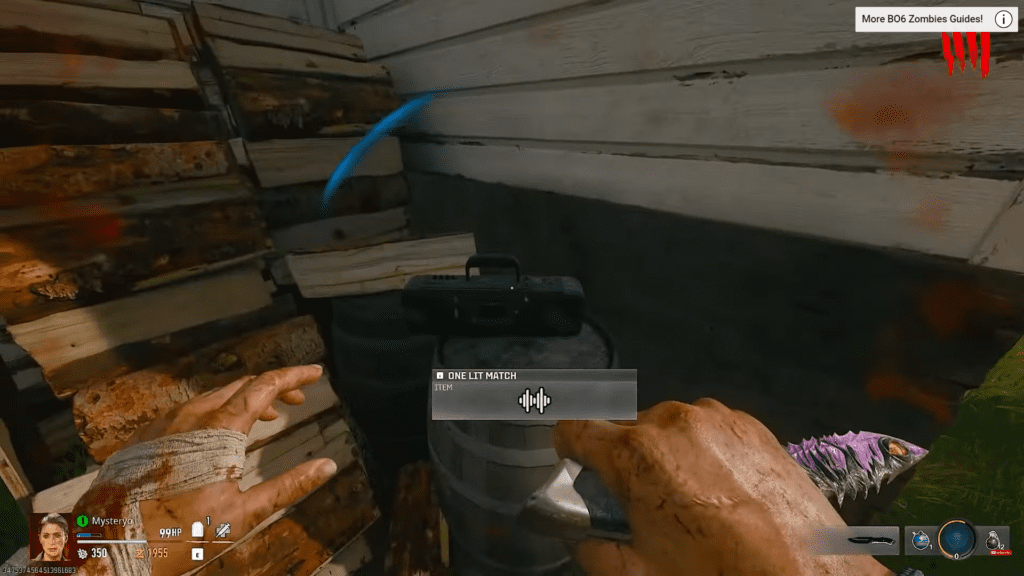
Hint: None
Location: Groundskeeper’s yard
During your main quest, when you interact with the SDG Generator inside the church for the very first time, then you can head to the Groundskeeper House. Here go to the back of the house and you will find the One Lit Match radio on a barrel next to the woodpile.
The House Josiah Built Audio Log
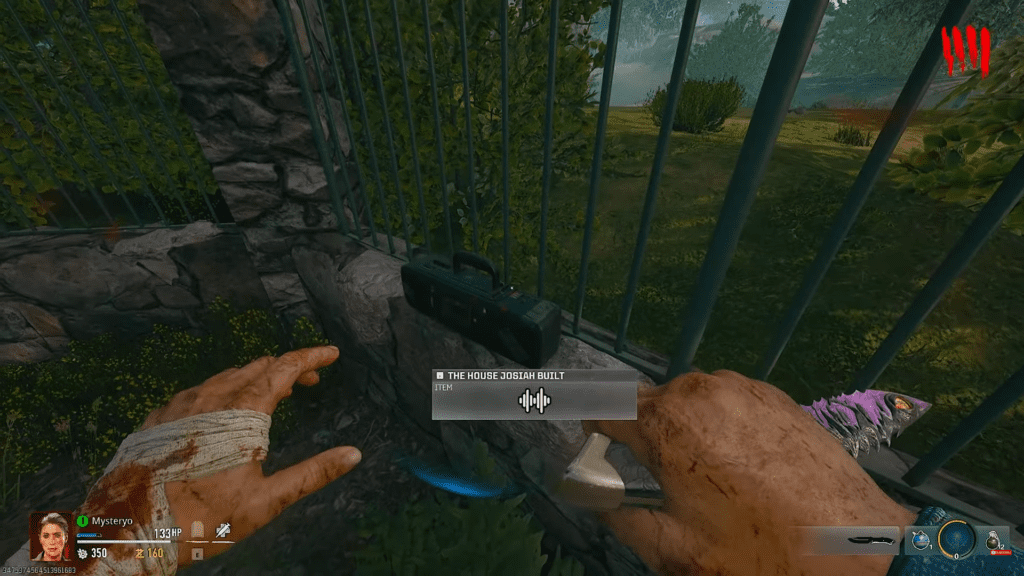
Hint: Grave Matters
Location: Cemetery
You will locate the House Josiah Built radio behind the tomb with Armor Wall-Buy; at the back of the Cemetery.
Quantum Mechanical Failure Audio Log
Hint: Personal Issues
Location: Olly’s Comic Store
Head to the barricaded Display Window section of Olly’s Comic Store, here you will get the Quantum Mechanical Failure Audio.
The Scientist and The Moonshiner Audio Log
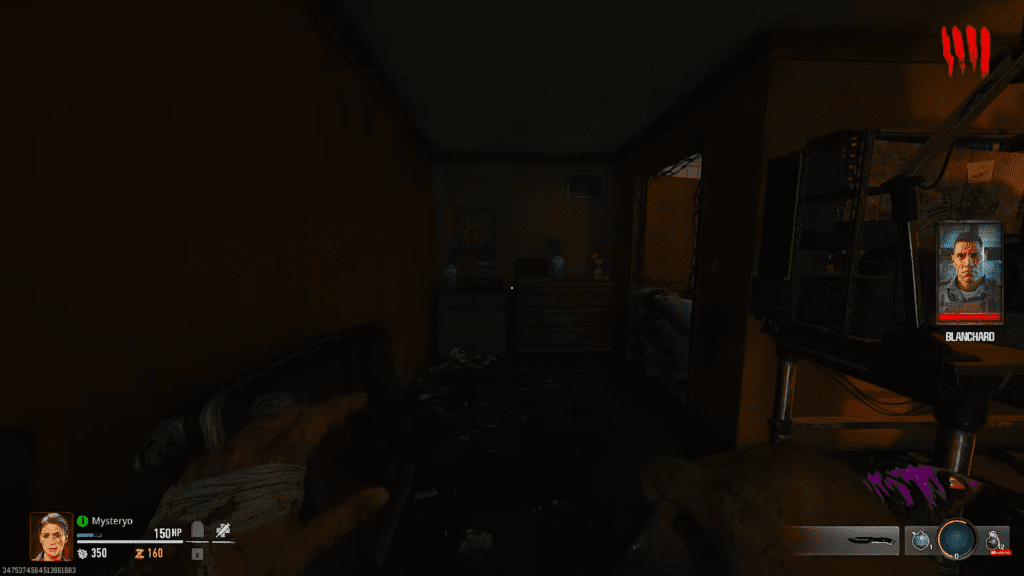
Hint: None
Location: Motel
Go back to the room, where you crafted the Jet Gun in the motel. Once inside, head to the small area left of the workbench, you will find The Scientist and The Moonshiner radio next to the flower pot on a drawer.
Limited Run Audio Log
Hint: Laser Eyes
Location: Olly’s Comic Store
Requirement: Finish the Aetherella Figure Side quest
First, you will need to obtain all 9 Aetherella Figures in Liberty Falls, then make your way back to Olly’s Comic store. You will find Limited Run on a desk next to the Blue door.
Steel Mountain Rescue Audio Log
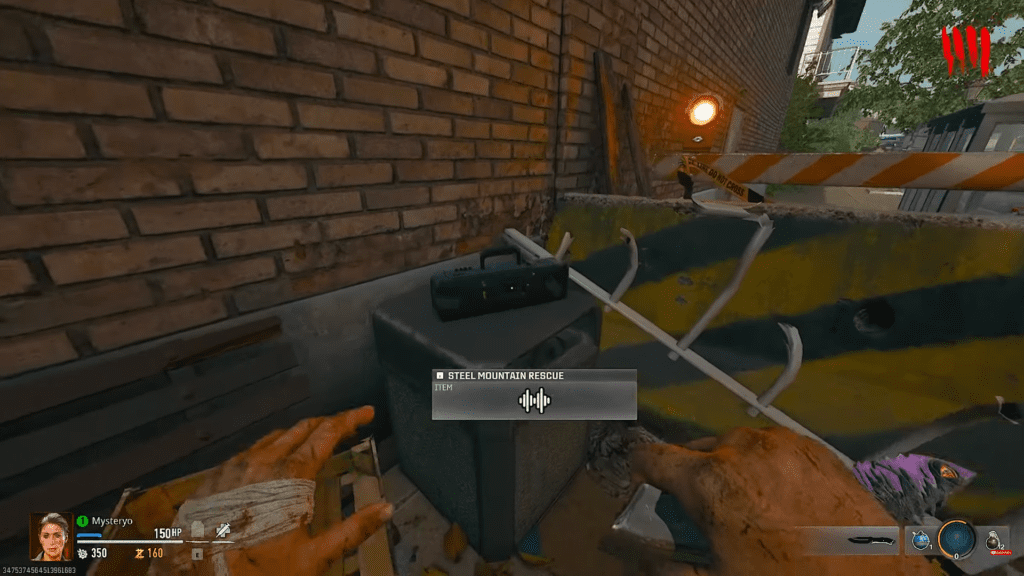
Hint: Catch The Bus
Location: Fuller’s Liberty lanes
Head to the table behind the bus down at Liberty Lanes, you will find the Steel Mountian Rescue radio on a garbage can next to a yellow barricade.
Bear Witness Audio Log
Hint: Pew Pew
Location: Hilltop Church
Go inside the Hilltop church, then turn left, you will find the Bear Witness radio at the end of the table.
Money Talks Audio Log
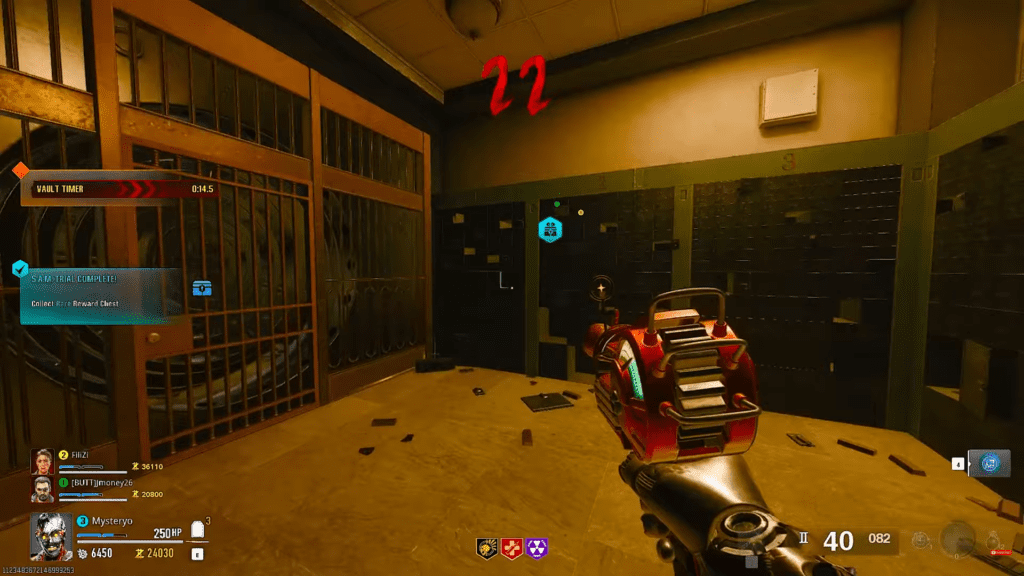
Hint: Bank On It
Location: Liberty Falls Savings & Loans Bank
Requirement: Open the Bank Vault
You must open the Bank Vault, once you are inside you will find the Money Talks radio on the floor, left corner of the room.
All 4 Documents Locations In Liberty Falls
Only four documents are available in Liberty Falls but most have randomness attached to them. You will be spending a little bit of your time to get them since randomness is involved in many of the documents,
We Only Take Cash
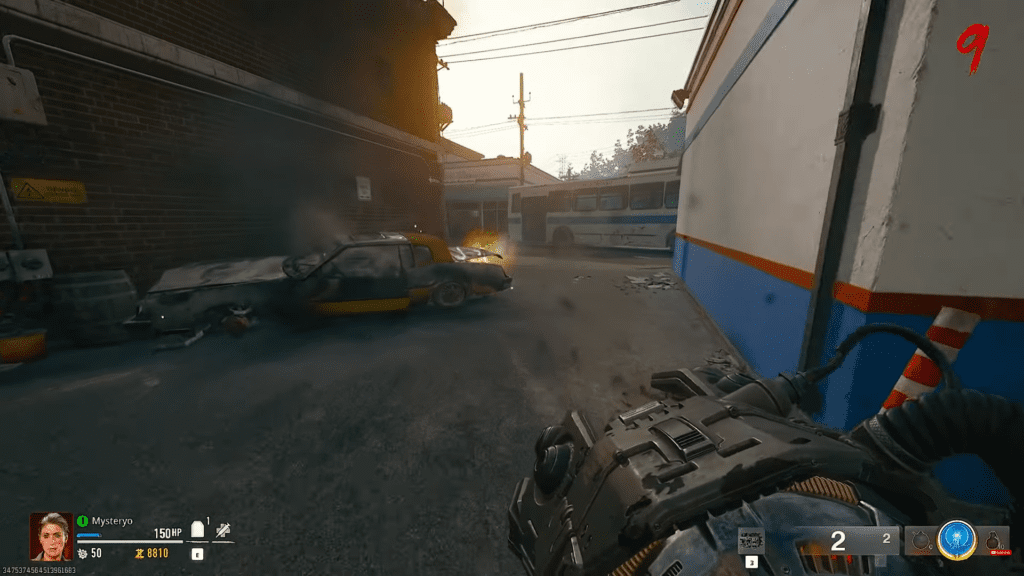
Hint: Truncated
Location: Black and Gold Cars
Require Weapon: Mangler Cannon
Random: Yes
Here you can either lure a Mangler or craft a cannon via workbench for 1250 Salvage. You will need the cannon because our objective is to blow up a Black and Gold car in Liberty Falls. The location here is random, so take it with a grain of salt, many cars in Liberty Falls have black and gold painted wrapping. Shoot the cars with Mangler Cannon to make the Document pop out of their trunk.
Politics, Politics
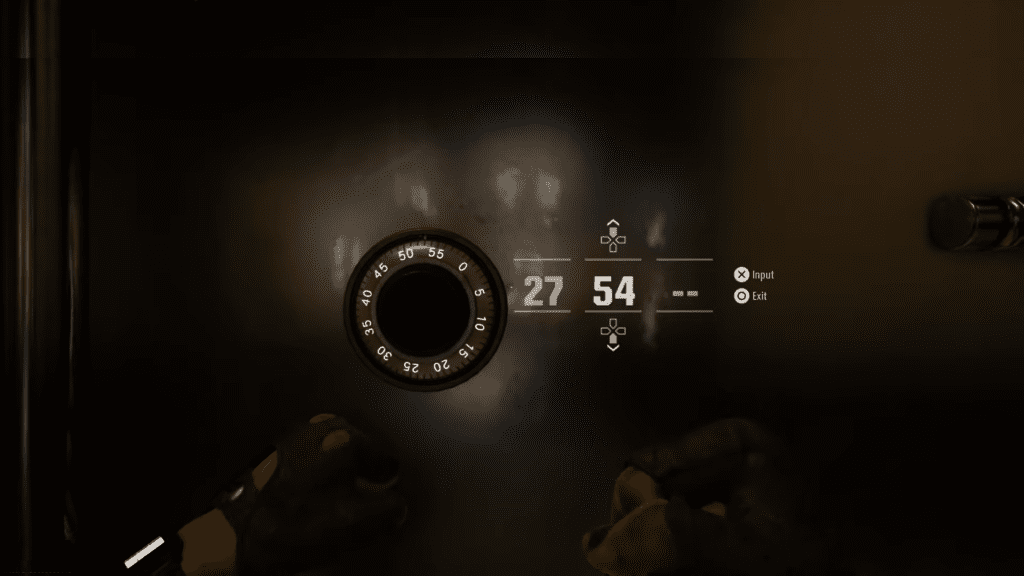
Hint: Direct Deposit
Location: Liberty Falls Savings & Loans Bank
Requirement: Open the Bank Vault
Random: Yes
We will find the document randomly inside the locker boxes in the Bank Vault.
- First, you will need to open up the bank vault, the quest here follows quite a lot of steps but we have a solid guide to help you open the door to the Bank’s Vault quickly.
- Second, defeat as many Manglers and Abominations in the game to obtain the key to the locker boxes.
Once you have the keys, head down to the bank and start opening the lockers inside the vault. If you are lucky you will find it right away or you just have to wait a bit longer.
Fine Man
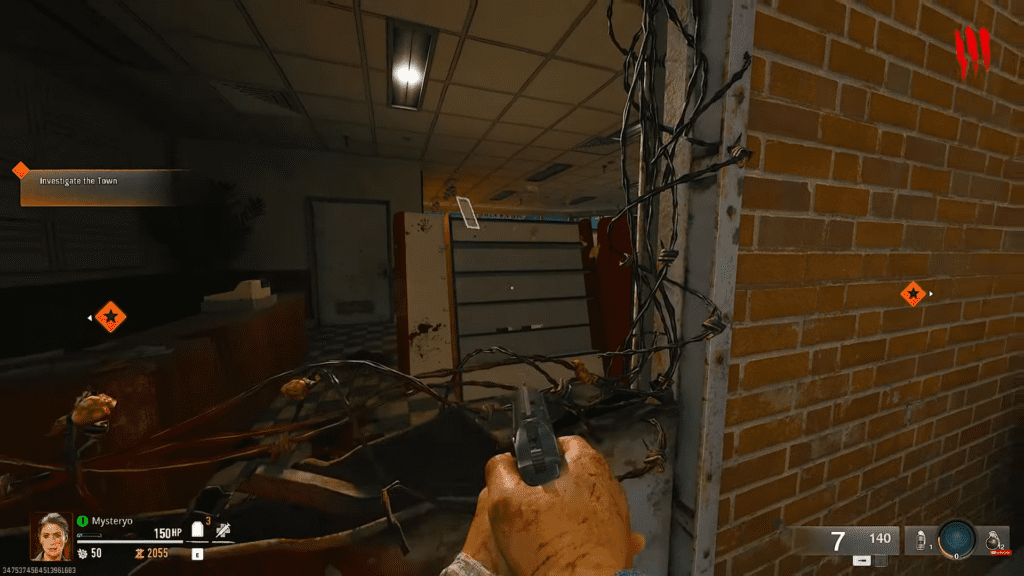
Hint: Late Returns
Location: Fast Forward VHS Store
Random: Nope
Head to the Fast Forward VHS Store east of the map, the main entrance to the store is inaccessible. So head to the back entrance. Here look at the first shelf through the broken door and shoot down three VHS tapes on the shelf. You can shoot down other VHS tapes, but the tapes on the first shelf will drop the Document Fine Man.
Final Issue
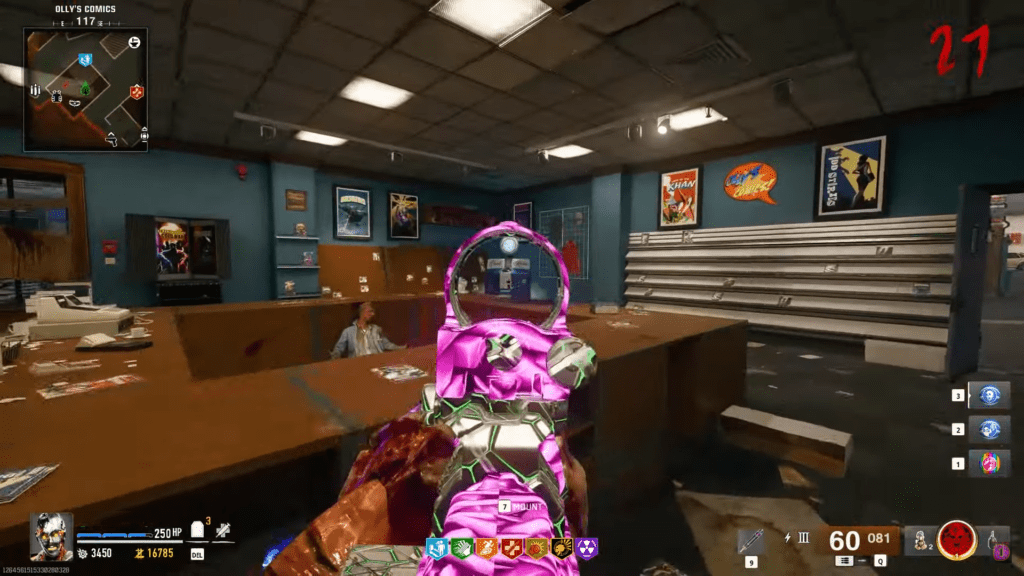
Hint: Pull List
Location: Olly’s Comic Store
Random: Yes
This one goes down in the random folder. Head to the Olly’s Comic Store northwest of the map. Once inside the store, open up large white boxes on the table. Open as many white boxes as you can to get the document. The chances are random, you will find closed white boxes lying around the table, and one fails to move to the other.
All 5 Artifacts Locations In Liberty Falls
The artifacts in Liberty Falls are all tied to the side quests. You must finish the side quests before obtaining the artifact as a reward. Here is how to find all 5 artifacts in Liberty Falls.
Limited Transdimensional Gateway Device

Requirement: Craft the LTG Device
Require Weapon: Jet Gun
During the main quest, you must build a Jet Gun and use the gun to finish crafting the LTG Device. We have an in-depth guide on both to give you concise steps to obtain both the gun and the device. Once you craft the LTG Device on the rooftops of the bank, you will earn the Limited Transdimensional Gateway Device Artifact.
Aetherella Statue
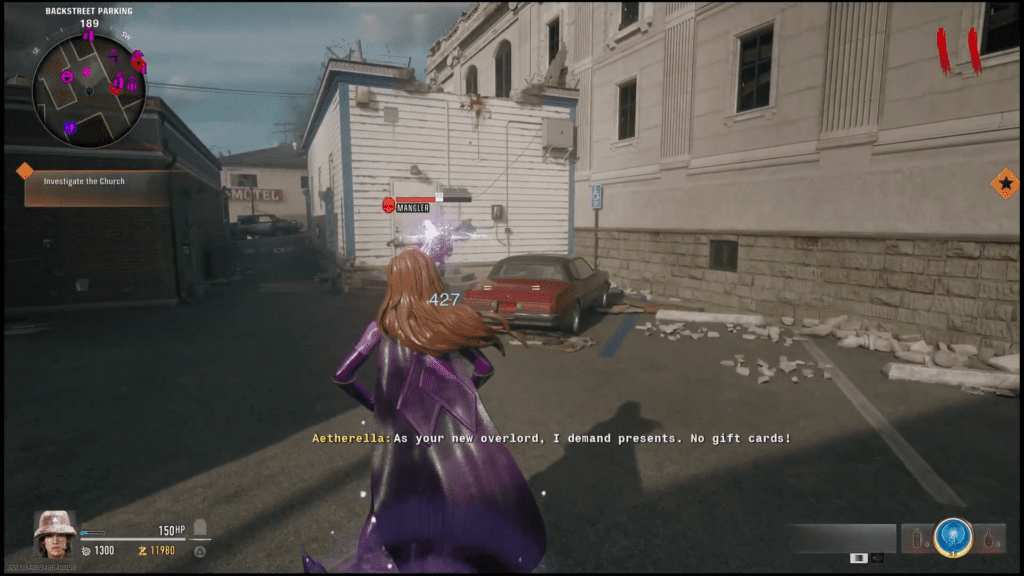
Requirement: Collect 9 Aetherella Figures
Require Weapon: Jet Gun
To start the collectibles hunt here, you must own a Jet Gun. First, craft the Jet Gun and then you will have to find 9 Aetherella Figures throughout Liberty Fall. Follow the guide to clear the objective quickly.
Aetheric Bowling Ball
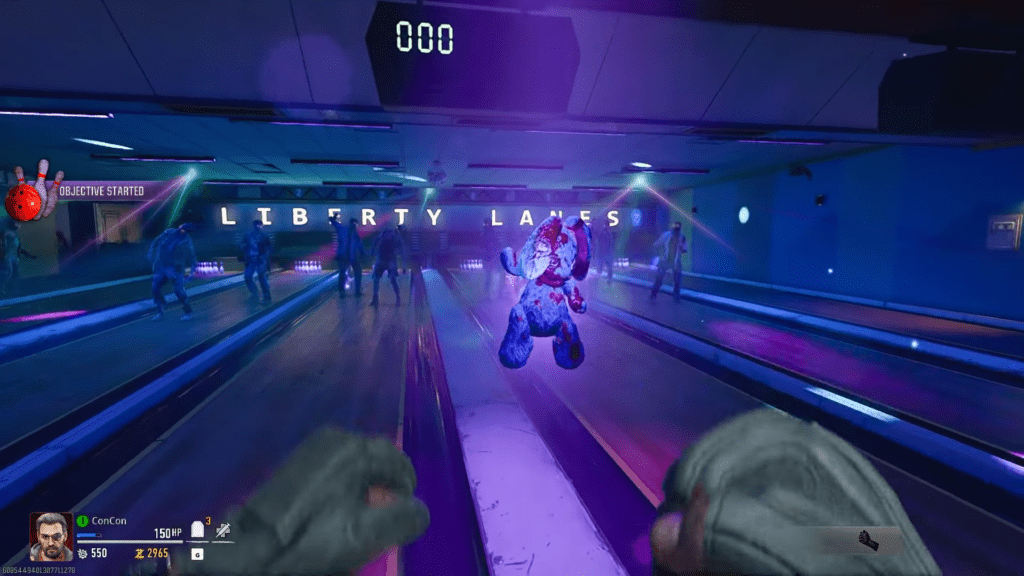
Requirement: Play a game of Bowling at Fuller’s Liberty Lane.
After you collect Five pairs of Mr. Peeks’ Misplaced Bowling Shoes by shooting at them, you will be teleported to Fuller’s Liberty Lane, but this time to kill zombies by bowling. Interact with the bowling machine on the right to kill the zombies standing in the lane. Score 300 on the bowling alley to get the trophy and an achievement.
Tip: You must pull a 300 on the scoreboard in under 1:50. The target here is 30 zombies, so make sure to charge up the bowl before releasing it on the lane. While you can play the game on Co-Op, only your personal score counts. Playing the game on Co-Op will spawn more zombies, which will make things easier for you to turn the 300 number.
Achievement Unlock: Make sure to hit a 300 score on the bowling alley to earn the Deadwood trophy.
Thrustodyne Model 23

Requirement: Craft the Jet Gun
You just need to build a Jet Gun, you will do that on your main quest. Since so many other side quests are tied to the gun, you can’t access most of the intel without it. Once you build the Jet gun in the motel, you will gain the Thrustodyne Model 23 right away.
Mr. Peeks’ Misplaced Bowling Shoes
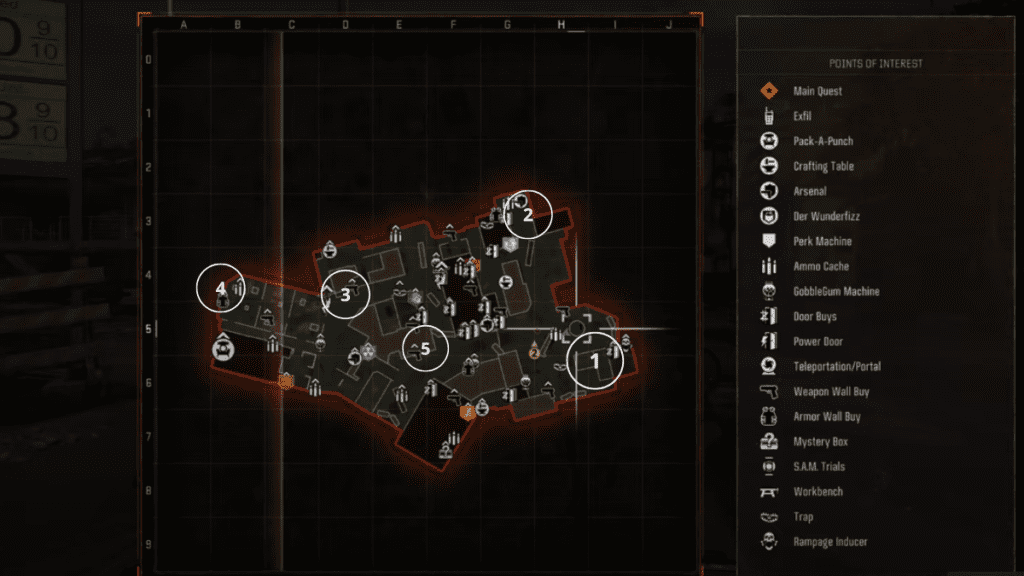
Requirement: Shoot Five Bowling Shoes
Here you will have to hunt for 5 pairs of shoes, all of them will be out your reach. You will have to use your normal guns to shoot at the shoes to obtain them. Finding the shoes can be a bit tricky since you can’t get close to them and all of them are located inside a closed room that you can’t reach. Our excellent guide covers all the Misplaced Bowling Shoes in Liberty Fall.


