Close Menu

    Subscribe to Updates

    Get the latest creative news from FooBar about art, design and business.

    What's Hot
    All 7 Status Ailments & How to Cure Them in Wuchang: Fallen Feathers
    July 26, 2025
    Crime Scene Cleaner: All 4 Camera Locations
    July 26, 2025
    Back to the Dawn: Mailroom Shelf Puzzle
    July 26, 2025
    Facebook X (Twitter) Instagram
    TheGameSlayerTheGameSlayer
    • Home
    • News
    • Guides
    • Features
    TheGameSlayerTheGameSlayer
    Home»Guides»Killing Floor 3: All Tainted Corpse Sample Locations
    Guides

    Killing Floor 3: All Tainted Corpse Sample Locations

    By Kirthana KJuly 25, 2025
    Share
    Facebook Twitter Reddit WhatsApp Pinterest LinkedIn

    During the campaign missions of Killing Floor 3, you will be tasked with several objectives that will require you to explore your current area to complete them. The first mission that you get is Absolute Massacre, where you need to locate 3 tainted corpse samples to complete the mission. This guide will explain where to locate them and how to complete the mission in Killing Floor 3.

    Absolute Massacre Mission Guide Killing Floor 3

    Image via TheGameSlayer

    The first location you will be dropped in at the start of Killing Floor 3 is the Army Depot. This will kickstart the Absolute Massacre mission. Follow the quest marker towards the Train Wreckage and locate the incident log. Find the incident log on the upper sections of the wreck, right across the turret. After that, you just need to wait out the wave of zombies that appear till you get your next objective.

    Image via TheGameSlayer

    Your quest marker will change, and so will the objective. Now, you need to locate the Inspection Room and collect 3 tainted corpse samples. Again, follow the quest marker to find a large hole in the wall that will take you inside the Inspection Room. Check out the reference image above to know what it looks like. Once inside, start searching the locations below to find the samples.

    Tainted Corpse Sample #1

    Image via TheGameSlayer

    As soon as you step through the opening for the Inspection Room, head left and down the stairs. To your immediate right is a corpse with the first sample. This area is also accessible if you are on the upper floors, just go across the hanging container in the middle of the area to find the sample.

    Tainted Corpse Sample Location #2

    Image via TheGameSlayer

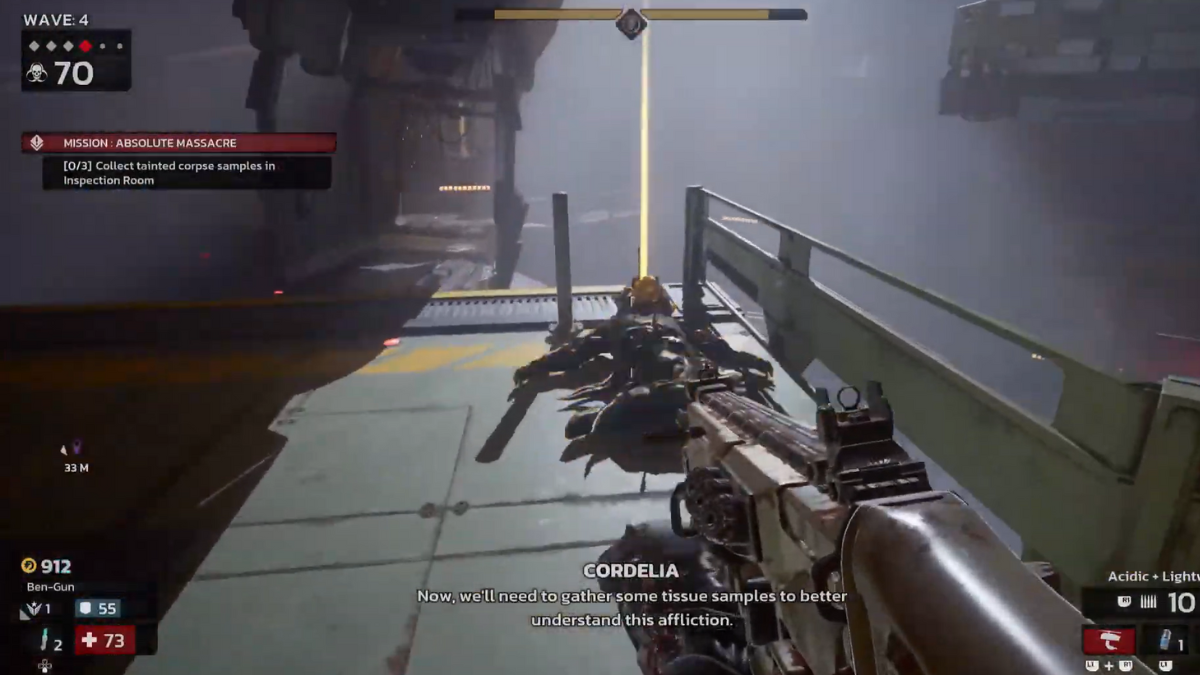
    Jump down to where the turret is, and you will spot the second sample on top of the container, right below the first sample. 

    Also Read: The Best Engineer Build in Killing Floor 3

    Tainted Corpse Sample Location #3

    Image via TheGameSlayer

    The third sample is right across the room, below the stairs.

    As the final step to wrap up the mission, all you need to do is survive the wave of zombies coming your way and defeat the final boss. 

    Killing Floor 3
    Kirthana K
    • LinkedIn

    Her lifelong passion of gaming led her to writing about them, bringing words to life and compiling comprehensive game guides that are quick and easy to follow. If not writing, you can catch her exploring Teyvat or the Palpagos Islands.

    Related Posts

    All 7 Status Ailments & How to Cure Them in Wuchang: Fallen Feathers

    July 26, 2025

    Crime Scene Cleaner: All 4 Camera Locations

    July 26, 2025

    Back to the Dawn: Mailroom Shelf Puzzle

    July 26, 2025
    Don't Miss
    Guides
    All 7 Status Ailments & How to Cure Them in Wuchang: Fallen Feathers
    July 26, 2025

    Like most Soulslike RPGs, Wuchang Fallen Feathers have a set of status effects that are…

    Crime Scene Cleaner: All 4 Camera Locations

    July 26, 2025

    Back to the Dawn: Mailroom Shelf Puzzle

    July 26, 2025

    All 6 Inner Demon Locations In Wuchang: Fallen Feathers

    July 25, 2025

    Hell Clock Ascension End Game Explained

    July 25, 2025

    Hell Clock: Veil of Quills Chain Explosion Build Guide

    July 25, 2025

    The King Is Watching: Best Upgrades To Get First

    July 25, 2025
    • Home
    • Privacy Policy
    • About Us
    • Contact Us
    © 2025 TheGameSlayer

    Type above and press Enter to search. Press Esc to cancel.

    We use cookies to ensure that we give you the best experience on our website. If you continue to use this site we will assume that you are happy with it.OkPrivacy policy