


Mods can enhance your gameplay experience by adding new ways to complete your tasks. In Schedule I, you can work on installing new mods that will allow you to own new establishments and find creative ways to peddle drugs. If you are new to the game, you might have to work on finding a way to install mods, and also figure out which mods you require. This guide will cover how to install and use mods in Schedule I.
How To Install Mods In Schedule I
There are tons of mods floating around for Schedule I that can change the way you play the game. This requires a third party application, and below are the steps to help you install mods in the game.
- Head over to your web browser and visit the MelonLoader website.
- Download and install MelonLoader for your system.
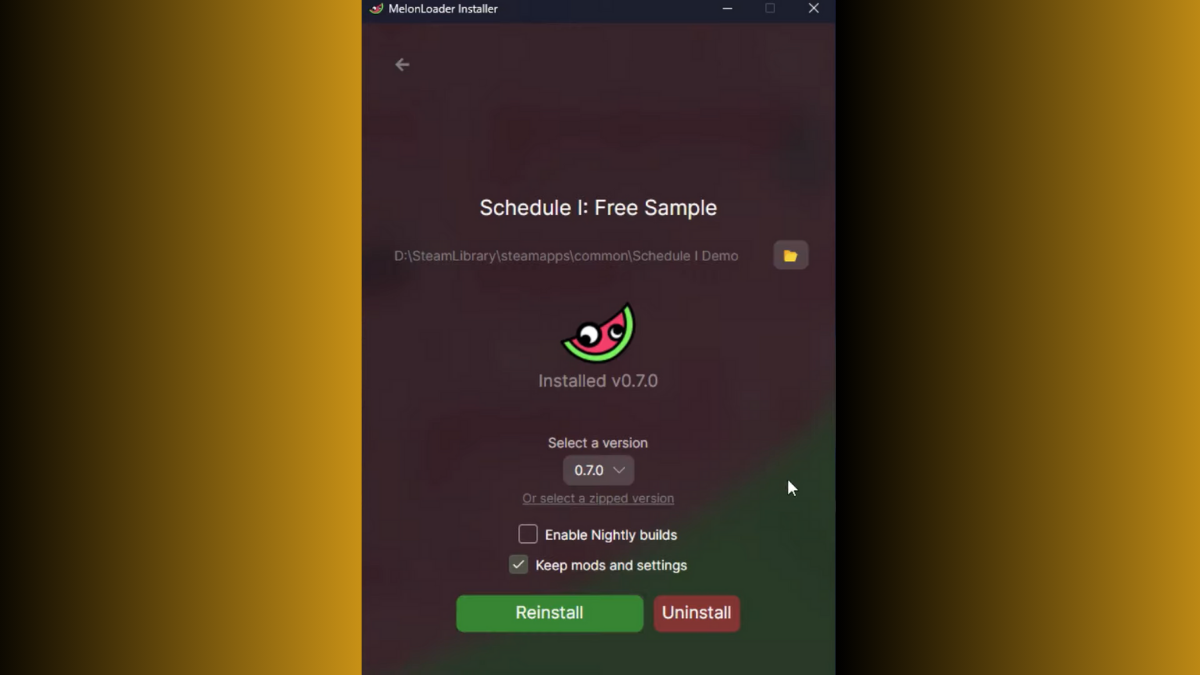
- Launch the MelonLoader application and click on the folder icon to browse for your game mod folder in your system.
- It will usually be located in your Drive, just go to your Steam Library folder and select steamapps > common > Schedule I > Mods.
- You can also locate your game files by loading up the Steam app, heading into the Schedule I page, then clicking on the Manage button indicated as a gear icon.
- Then, go to Manage > Browse local files to find the Schedule I game folder in your system, then copy the link to the folder and paste it into MelonLoader.
- If you don’t have Schedule I as a Steam file and rather as an app file, then you can select that directly to add it to MelonLoader. Then, open up the Mods folder through MelonLoader’s browse icon.
- Right now, the folder will be empty, as you need to download mods first.
- You can visit the Nexus site or any other Schedule I mod site to download the mods you require.
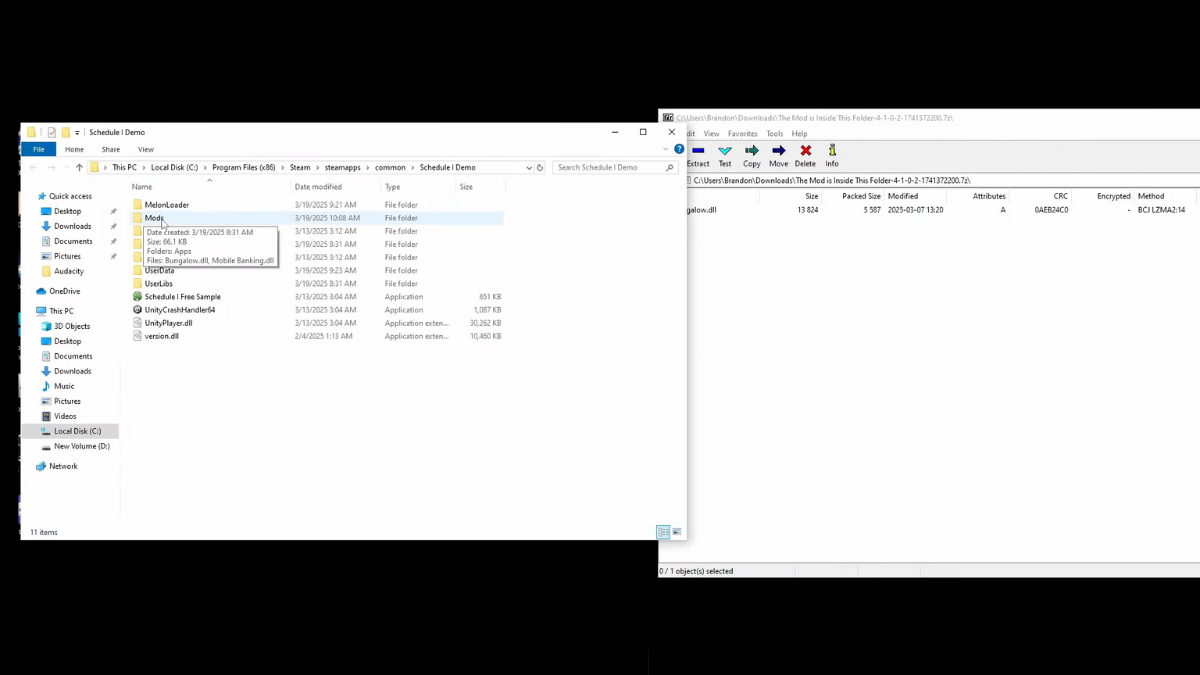
- Mods will be downloaded as a Zip file, so use any app like WinRAR or 7Zip to unzip it.
- The resulting file will be a dll file, so just copy and paste it into the Schedule I mods folder.
- Once that is done, load up MelonLoader and open the mod folder as mentioned earlier, then click on Reinstall to load up the mods.
- Now, you can load the game normally and find all your installed mods reflecting in the game.
How to Run Property Mods
- Property mods should be installed in the game’s property folder, which you can find by loading up the Run command and typing in %appdata%.
- Select Appdata from the search bar once the folder loads up and select the LocalLow folder.
- Next, locate and select the TVGS folder, then go to Schedule I > Saves > select the save folder you require the mods in > Properties.
- Drag and drop your downloaded Property mod file here after unzipping them.
- You can then load the game normally and the Property mods will show up.
Cars and Weapon Commands
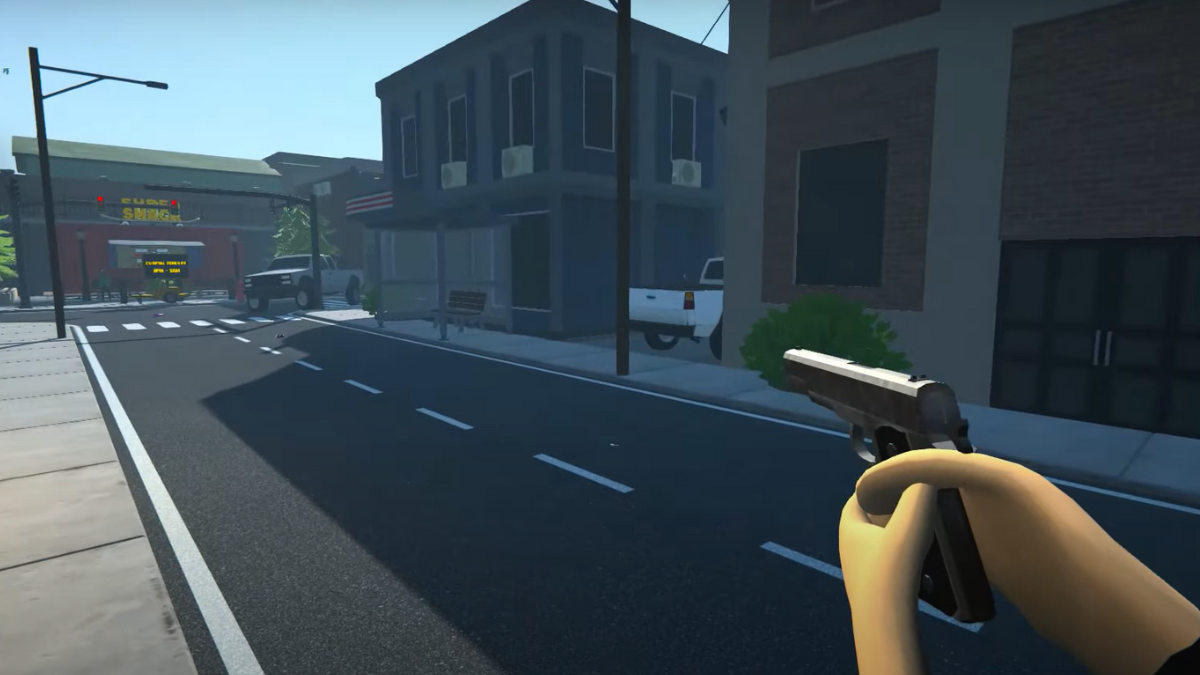
After you have installed weapon and vehicle mods, you need to type in a command to summon them in the overworld. First, launch the game, then press the F8 key or Tilde (~) key to bring up the command box. In the box, type in “spawnvehicle [insert vehicle name]” to bring up a car, or type “give [insert gun name]” to get a gun. So, the text should look like spawnvehicle Cheetah or give m1911, and you will get a vehicle or gun, depending on the command you used.
If you are looking for more Schedule I guides, you can check out our how to get free businesses and employee guide to know more.