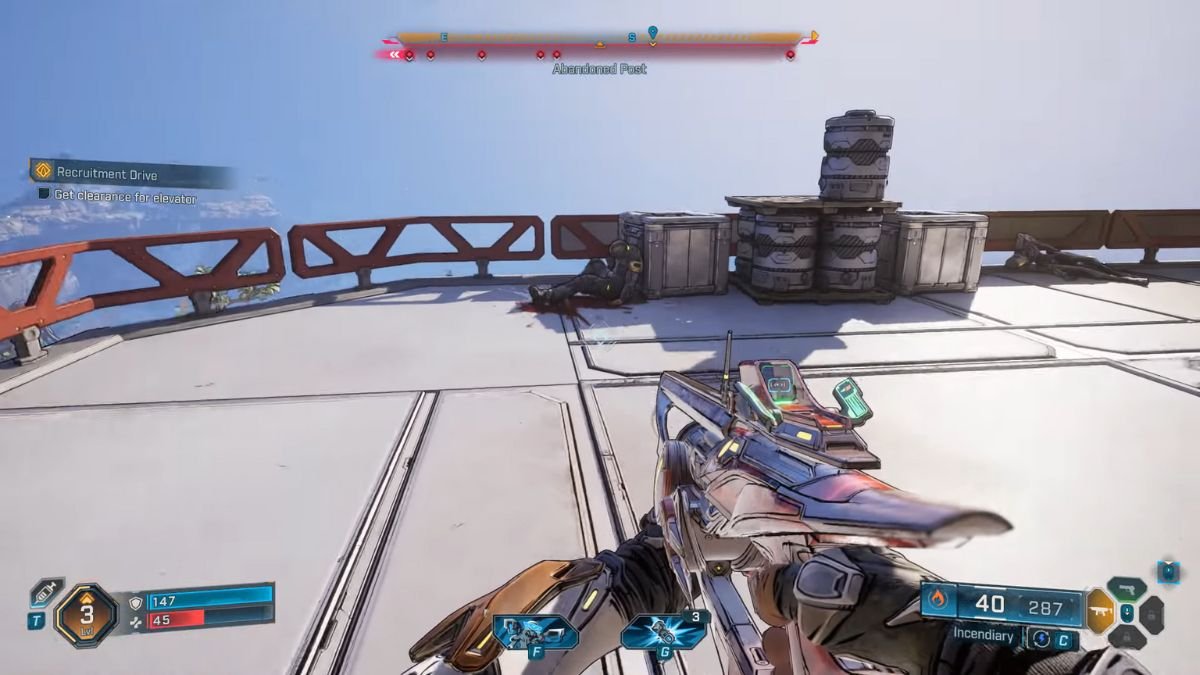
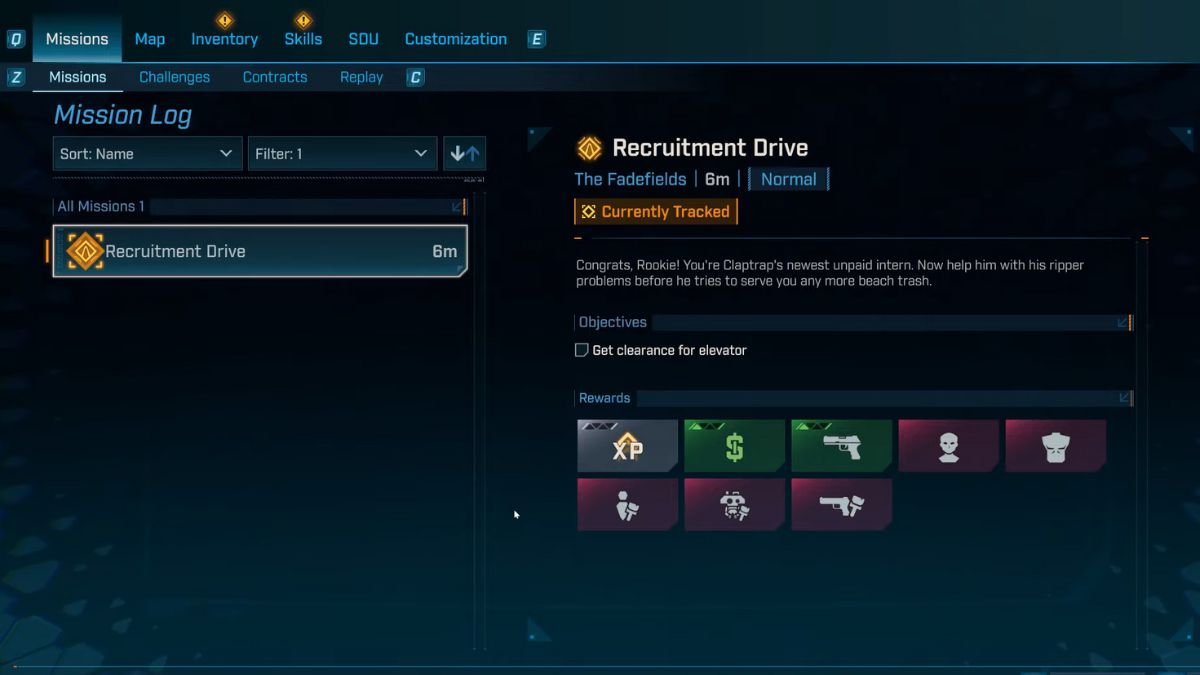
For the Recruitment Drive quest in Borderlands 4, you receive an objective from Claptrack to get the elevator clearance. While this may look simple on paper, you don’t get any indicators on where you should go to get this clearance. If you are stuck on this mission objective, then this guide will help you locate the clearance to the elevator in Borderlands 4.
Get Elevator Clearance in Borderlands 4 Explained

The elevator clearance is found on the corpse in front of the elevator. Just turn around from the elevator to collect the Bolt off the body slouched against the crate beside the railing. Taking the elevator gets you to Claptrap’s safehouse(one of the 4 safehouses in FadeFields), and is one of the last few steps to do before you complete the Recruitment Drive quest. Since this quest is just the second quest in the game, you might still be learning the ropes here.

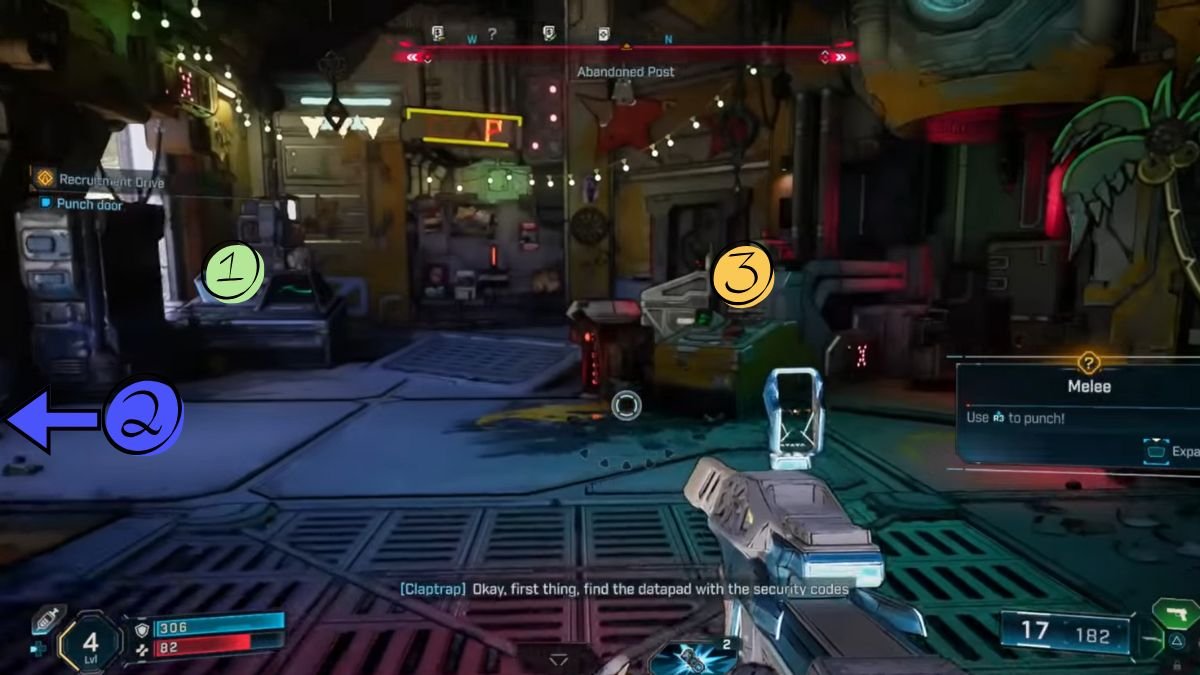
Your next step after freeing Claptrap from the elevator is to help it unlock the safehouse door. Go to the left of the elevator to find the door jammed, and Claptrap will ask you to punch it. Do just that, then head inside to find the datapad with the security codes to turn the safehouse into your own. Check out the steps below to know how to complete this objective too.
- Head straight from the door towards the console ahead and pick up the datapad on the left side of the console.
- To the left of the main door is a terminal; interact with it to allow ECHO-4 to capture it.
- After Claptrap’s dialog, press the button on the smaller console to the right side of the main door, beside the Abandoned Post sign.
You have now unlocked your first fast travel point in Borderlands 4, and there are more such points to unlock as you progress through the game. This would be the perfect time for you to get a sense of how Enhancements work in the game.


