


Each year around the month of March, Grounded introduces a limited-time event where you can get unique food items from the Chocolate Leprechaun’s Loot. Instead of the usual Apples, Cookie Sandwiches, Billy Hogs, or Donuts, you can find these Chocolate Leprechaun’s Loot that contain the elusive Rainbow Chocolate Chunks. We have put up for you here a quick rundown on how to collect the Rainbow Chocolate Chunks and Lucky Hat in Grounded.
How To Farm Rainbow Chocolate Chunks In Grounded
You will require the Rainbow Chocolate Chunks to craft the Lucky Hat, or consume it to get the Sugar Rush boost. To start farming Rainbow Chocolate Chunks, you need to find Chocolate Leprechaun’s Loot and break them using the Tier 2 or Tier 3 Hammers, Insect Hammer, or Black Ox Hammer. I recommend that you switch to creative mode and disable insect attacks; that will make things easier.
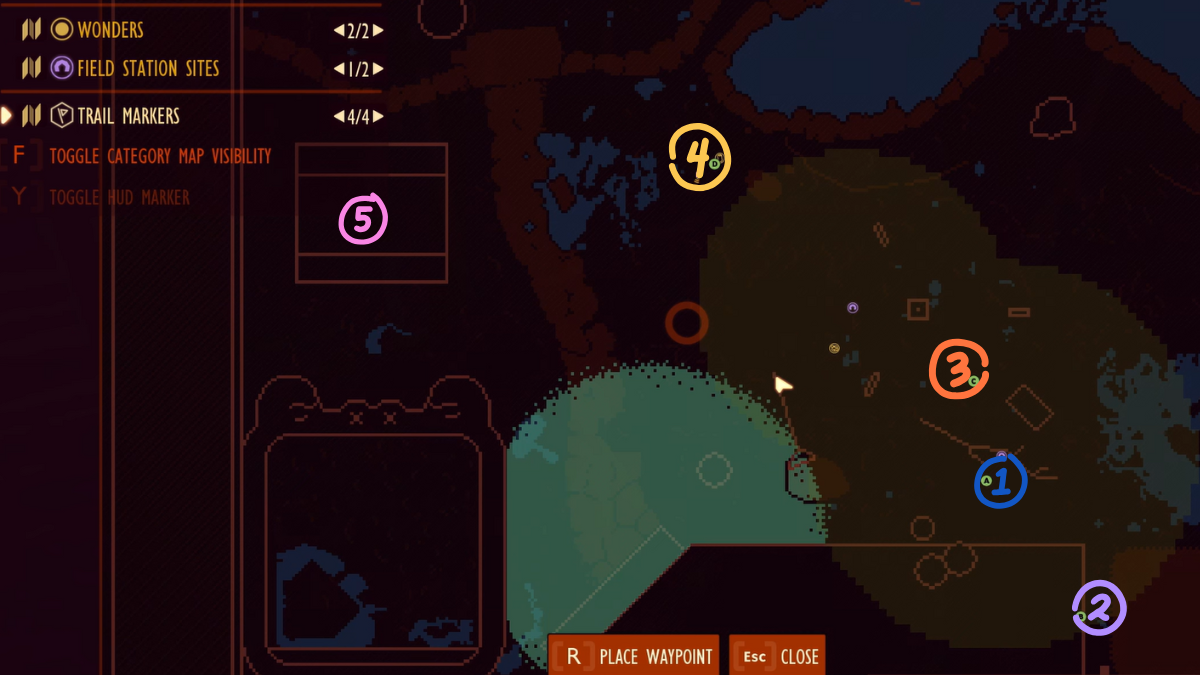
Location #1
Start beside the Fallen Oak Branch in Grasslands and head straight to find half-eaten human food. Whenever you encounter human food, you are sure to find consumable items for yourself. If you spot the Chocolate Leprechaun here, break it open to get your loot. You are not guaranteed to get Rainbow Chocolate Chunks right from the start, so you might have to keep exploring till you do.
Location #2
Your next stop is beyond where you picked up your previous loot, just head south and pass through the dirt tunnel beside the larvae hideout. After you exit the tunnel, you can spot the second Chocolate Leprechaun coin.
Location #3
If you don’t get Rainbow Chocolate Chunks here, then turn back and go past the fallen oak branch and past the Wolf Spider hideout located northeast of the branch. Keep going and follow the dirt path till you come across an empty plot with the Chocolate Leprechaun.
Location #4
So you are still empty-handed. Your last location to explore is to keep going past this empty plot. Go past the red mushrooms and the plotting ground and follow the path past the Field Station. You will come across the Jabby Cola landmark, and this is the final location to spot the Chocolate Leprechaun.
Optional Location
While this isn’t a guaranteed spawn, you can also try exploring under the picnic table to find food or a chance of getting the Chocolate Leprechaun.
Chocolate Leprechauns have a chance to respawn, so you don’t have to keep exploring all locations to get it. In my experience, shuffling between the first two locations periodically works best, as these are guaranteed spawns.
How To Get & Use The Lucky Hat
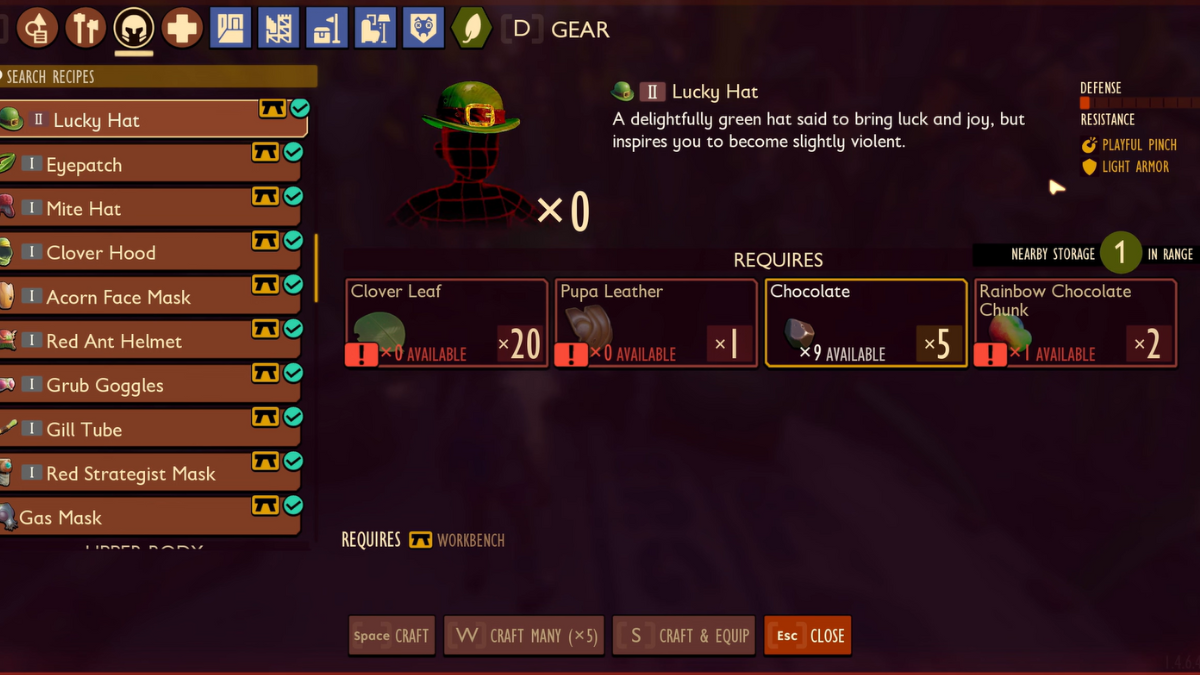
To craft the Lucky Hat, you will require more than just the Rainbow Chocolate Chunk. Below are all the items you require:
- Clover Leaf x20
- Pupa Leather x1
- Chocolate x5
- Rainbow Chocolate Chunk x2
Wearing the Lucky Hat will offer the Playful Pinch boosts at level 1. Playful Pinch increases damage against enemies that don’t have any green coloring on them by 20%. At level 6, you unlock a new boost called Loot Luck, which increases your chances of obtaining rare loot from creatures by 10%.