


With each region you unlock in Avowed, you uncover secret Treasure Maps that will lead you to hidden treasures. Most of the time, these treasures are worth it, so you should take your time exploring and locating all the treasure maps to get these elusive rewards. In this guide we will detail how to get all 3 Galawain’s Tusks treasure maps and the respective reward locations in Avowed.
All Treasure Map Locations In Galawain’s Tusks
You can explore the entirety of Galawain’s Tusks to collect three secret treasure maps. To make things easier, we will list out all the locations below.
My Loyal Shield Map and Reward Location
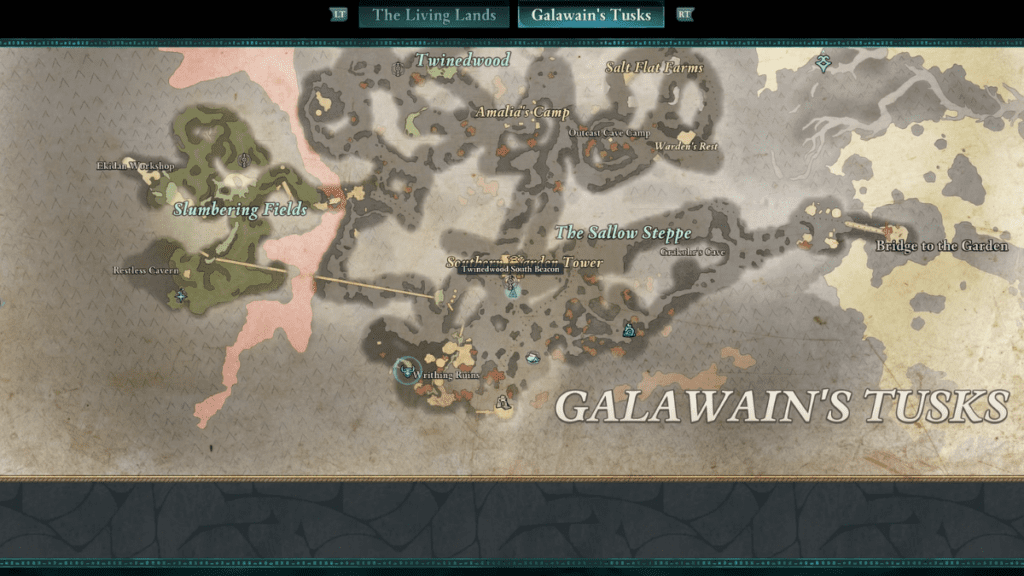
You can purchase this map from a vendor at Southern Warden Tower, The Sallow Steppe. If you have the Twinedwood South Beacon active, then you can reach here quicker. You will find Stockkeeper Eberk right outside the entrance to the tower, and you can talk to him to purchase the Treasure Map for 5,220 Copper Skeyt.
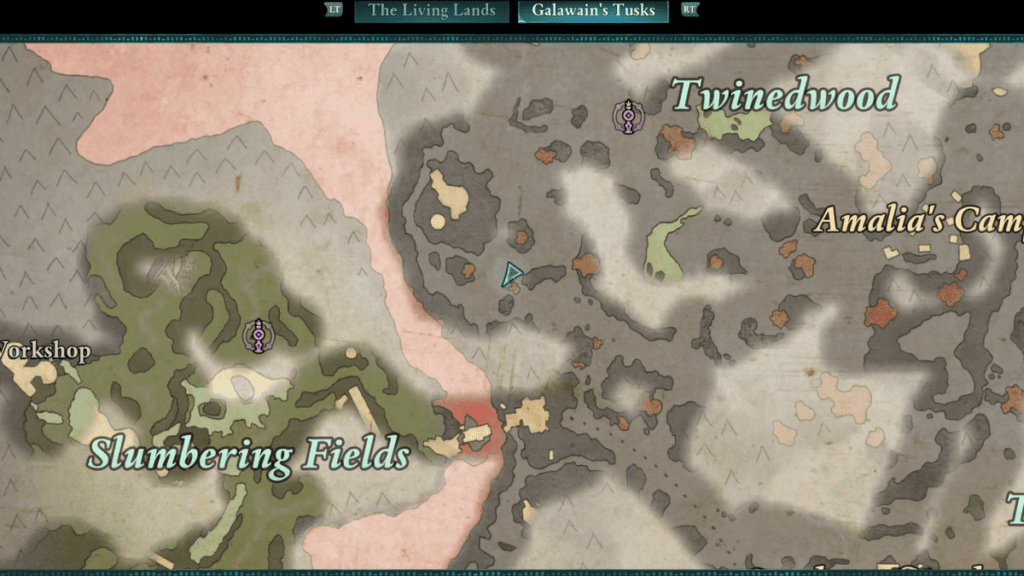
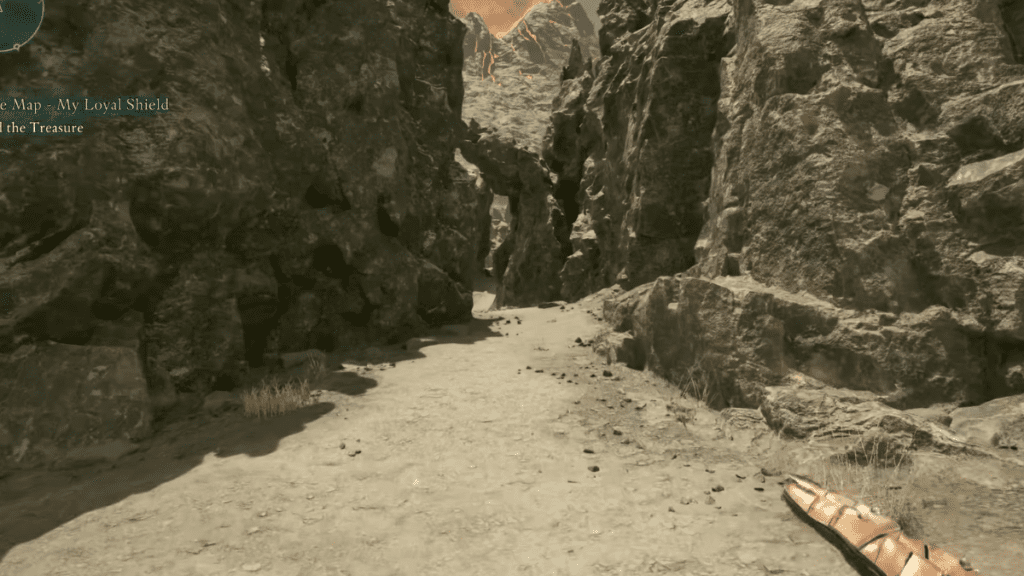
After collecting the map, the area you need to go and get the treasure is between Slumbering Fields, Amelia’s Camp, and Twinedwood. From the location marked above, head north through the gap between the large rocky formations and follow the path till it turns to the right.
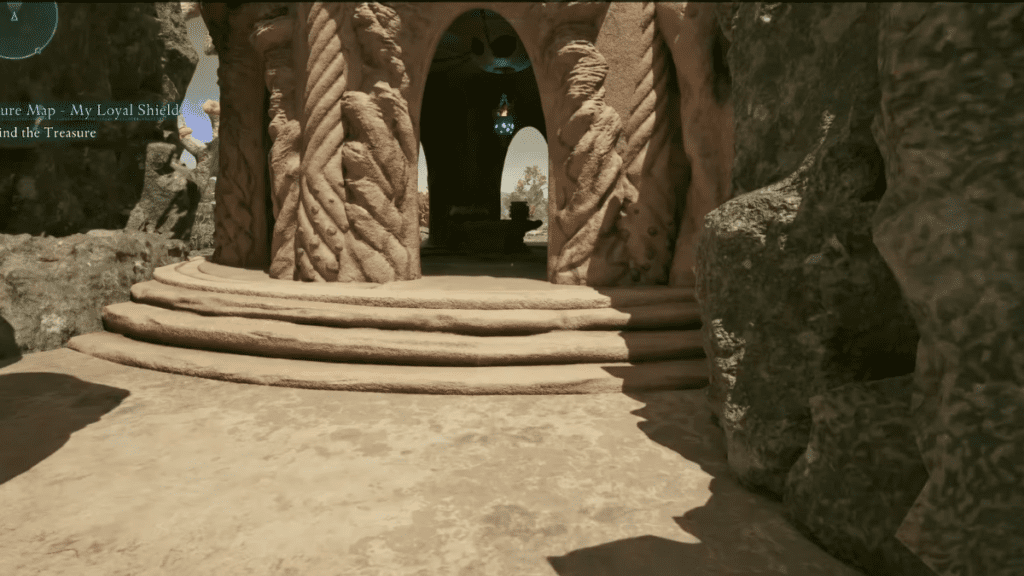
Climb up the platforms till you spot a gazebo, and inside the gazebo is a table. At the base of the table is a switch you can press to unlock the secret door outside the gazebo, and inside the room you can find a treasure chest at the bottom floor.
Reward: Time’s Tarnish Unique Shield.
Ancient Arrowhead Map and Reward Location
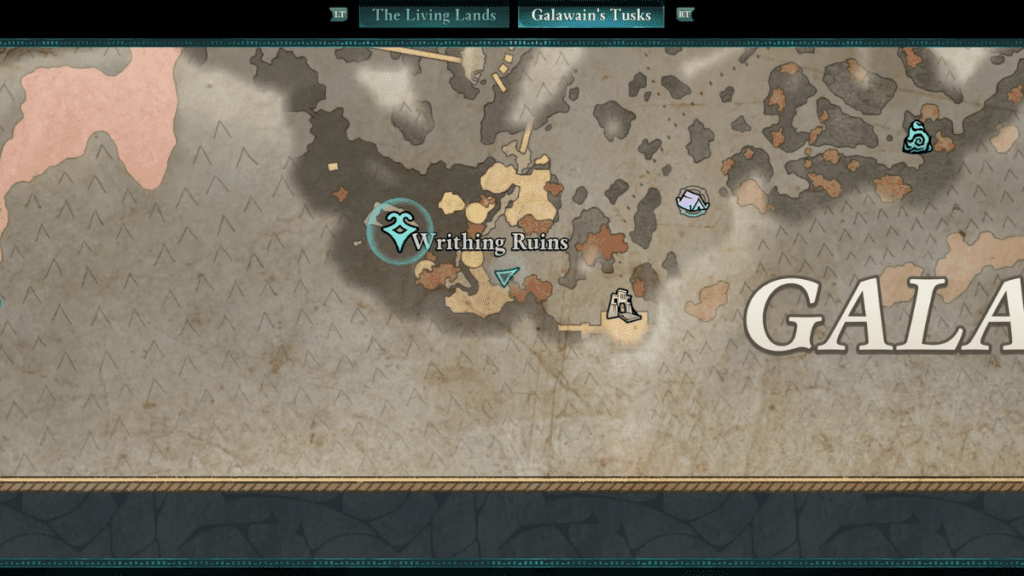
Head over to Writhing Ruins and make your way south, just below the writing of Writhing Ruins on the map. You will come across an empty stone fountain in the middle of the area, from there, turn west and go through the archway.
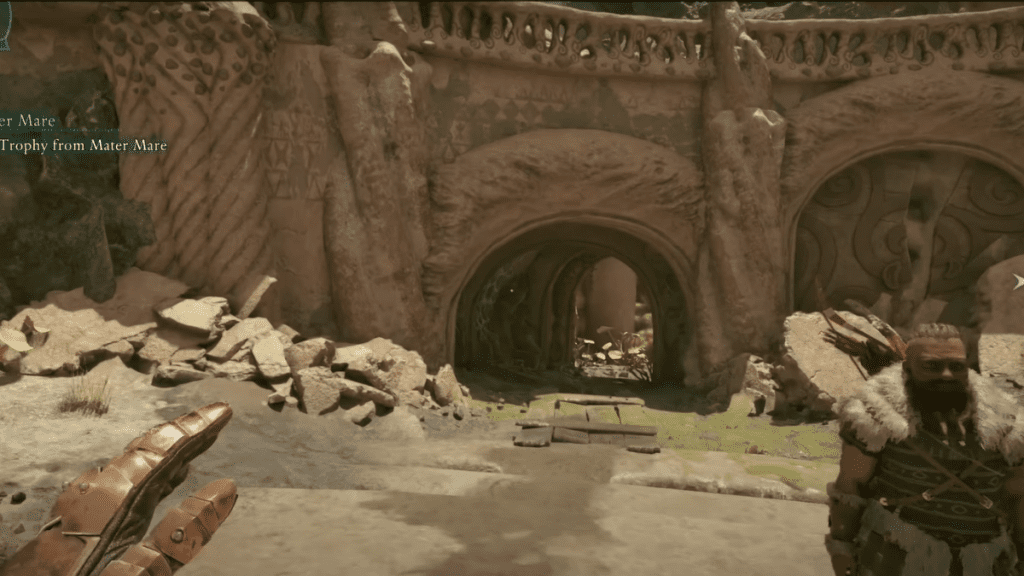
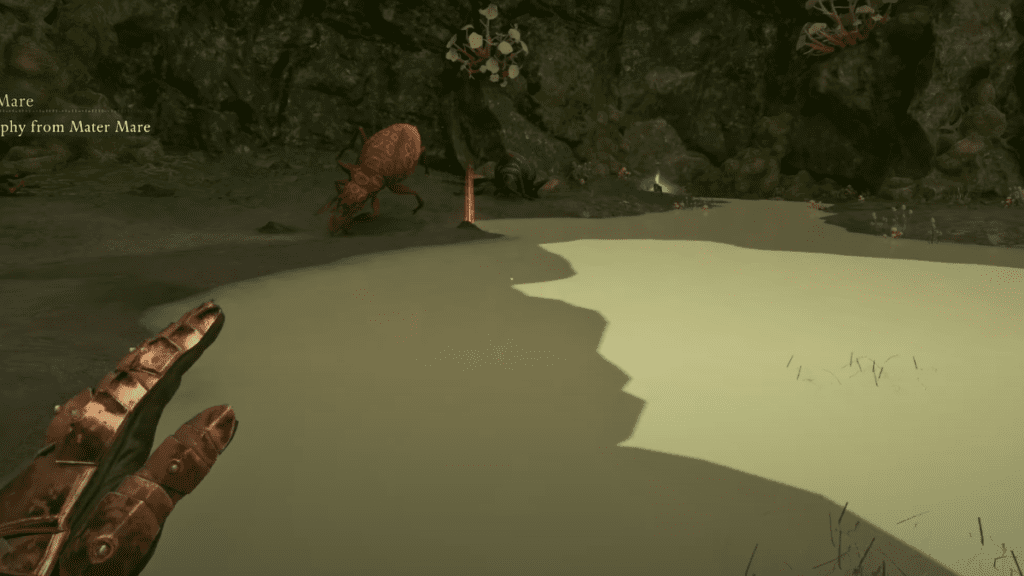
There are some platforms on the left that you can climb up, then follow the path all the way towards a cave filled with beetle enemies. There is a skeleton that has the Ancient Arrowhead map that you can pick up.
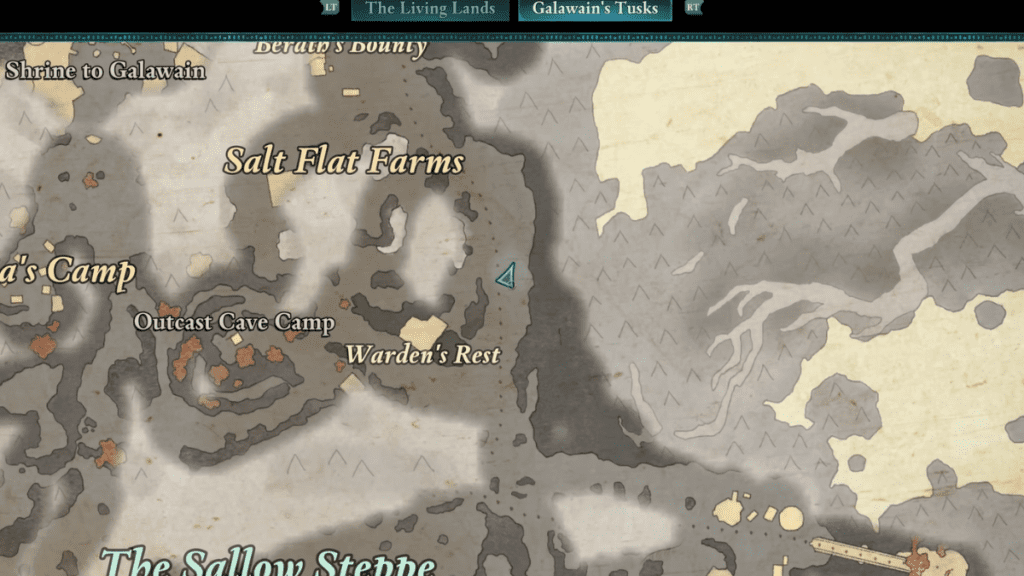
To collect the rewards from this map, make your way between Warden’s Rest and Salt Flat Farms. From here, head south and jump down the cliff ledges to find a treasure chest. It will require 3 Lockpicks to unlock it, and you will get several rewards from the chest.
Rewards: Scout’s Reach Trinket, Pearl, Balarok Skin x2, Cave Coral x2.
The Blade that Hungers Map and Reward Location
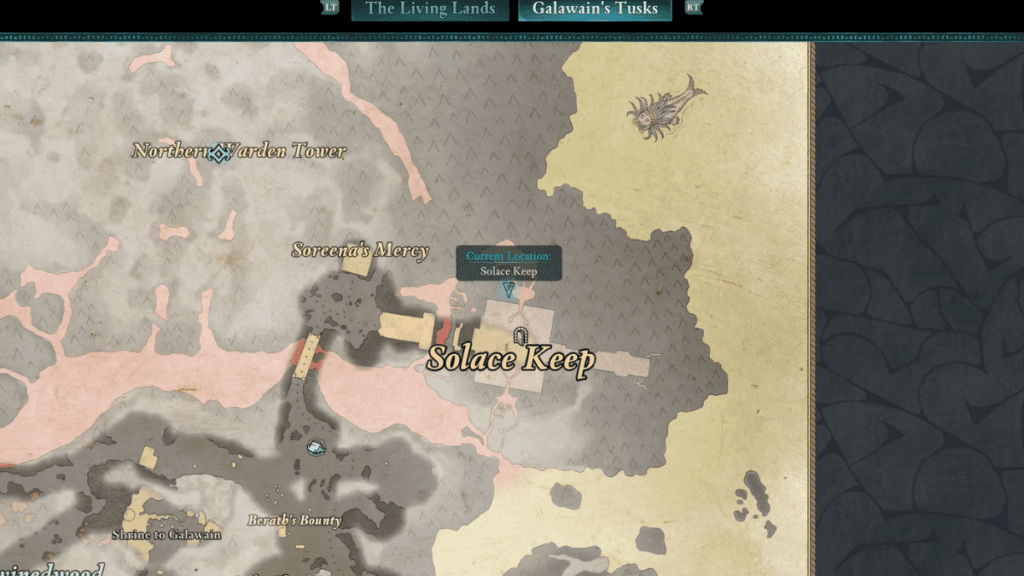
This map can be bought from Bulti’s store in Solace Keep. You can find Bulti on the upper floors, and it will cost 4,032 Copper Skeyt to buy it. The chest for this particular treasure map is located in the northern sections of Ash Forest, east of Ash Forest Outpost.
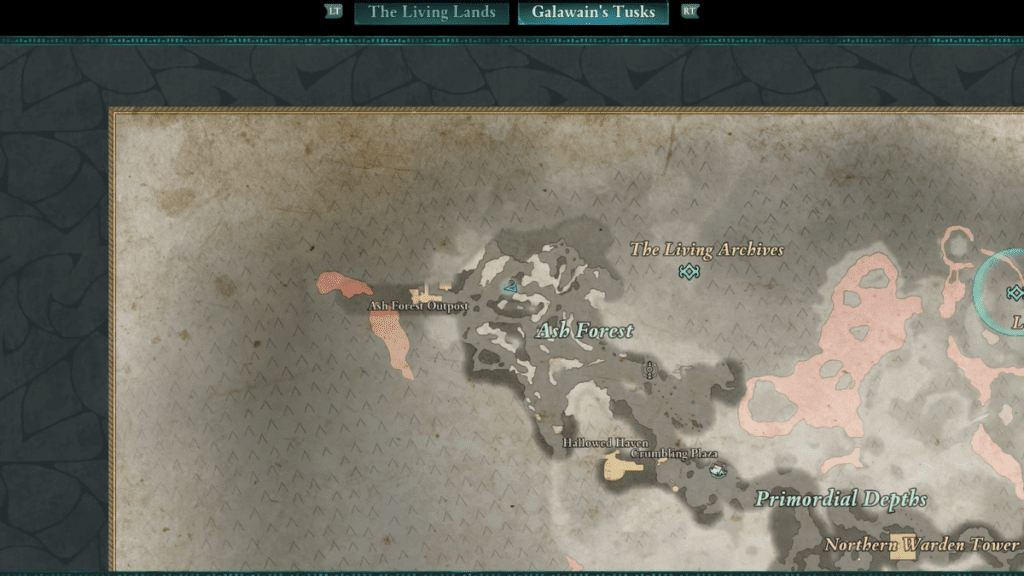
Go through the path leading east till you find an archway to the north. Follow the path that slopes up to the right, then head into the tunnel on the right. Keep following the path till it ultimately turns to the left. At the end of the path, if you look to the right, you will find the treasure chest.
Rewards: Umbral Needle Unique Dagger
There are a couple more treasure maps to find around the Living Lands, and you can get some at Emerald Stair and Dawnshore if you haven’t located them already.