


The Inverse Cipher in Girls Frontline 2 Exilium is a limited time event, and within it are several stages where you need to solve a quick puzzle and earn rewards. For the puzzles, you need to move your robots to the proper positions on the movable belt so they can shoot down the enemies at the end of the level. Each level is different and can get progressively harder, so this guide will summarize how to solve all the Inverse Cipher puzzles in Girls Frontline 2: Exilium.
All Inverse Cipher Solutions Girls Frontline 2 Exilium
There are five stages to clear, and at each stage you have to figure out a different solution. You also need to keep in mind that you only get a limited amount of moves per stage. Below we will explain how to complete each level and the best solution for each stage.
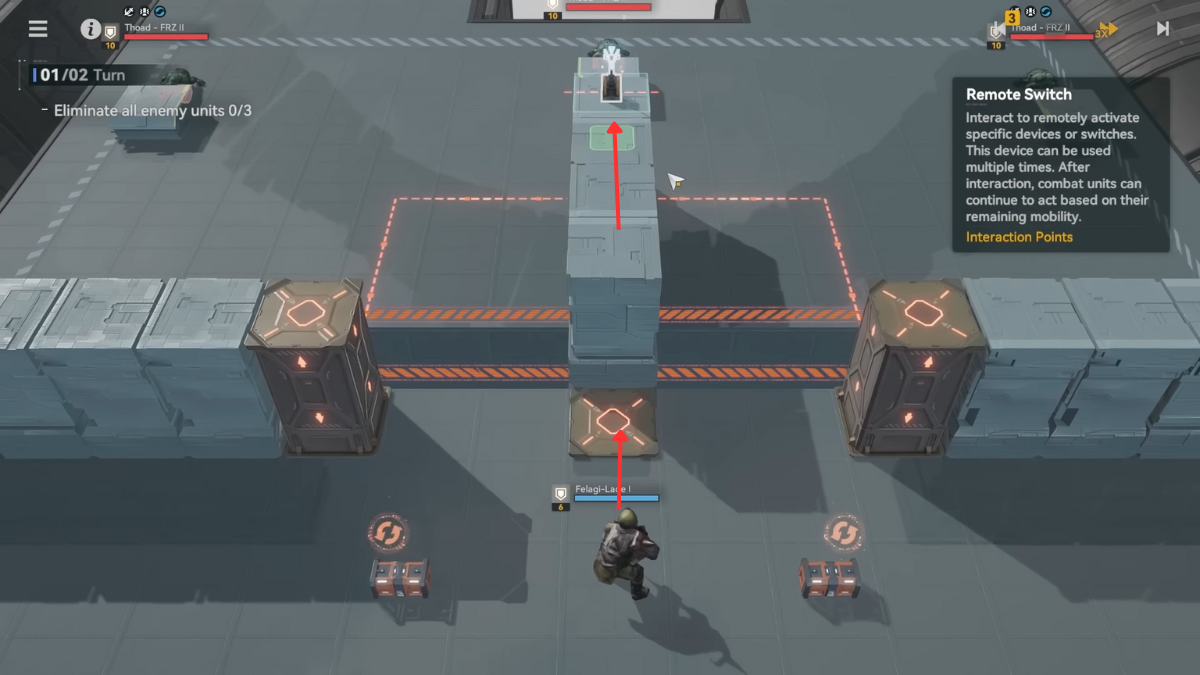
Stage 1

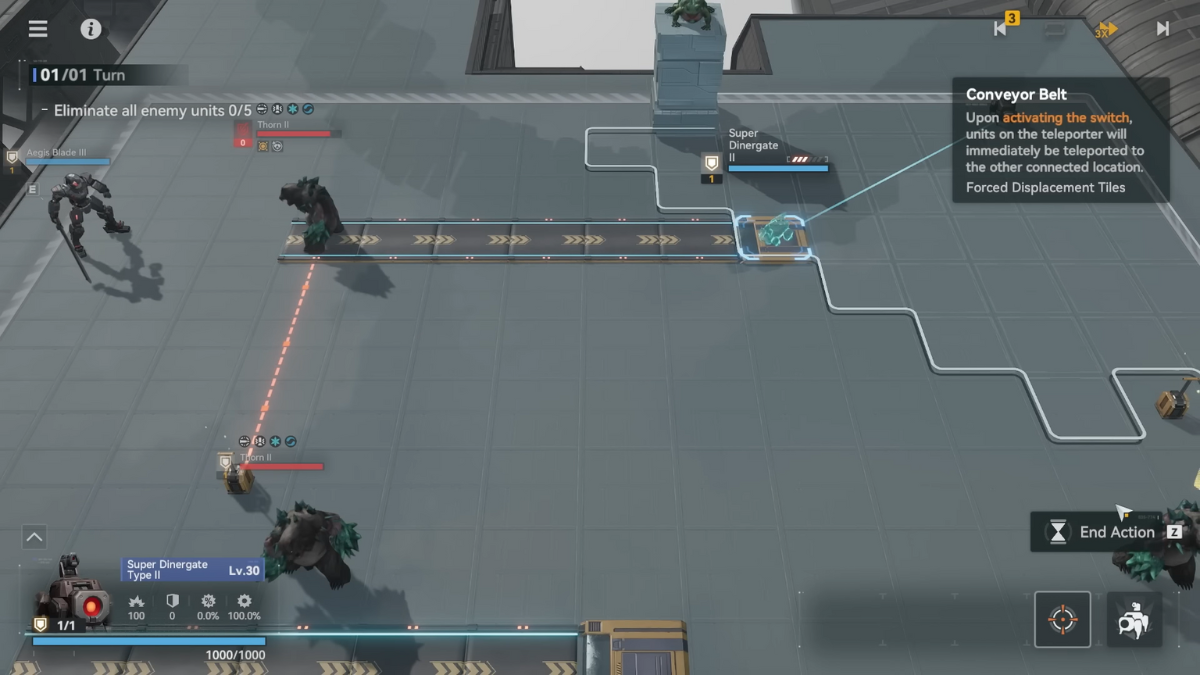
Place both robots one after the other on the conveyor belt and activate the switch on the right side. Move the first Goliath on the left to the conveyor belt and end action. Then, while moving the second Goliath II on the right towards the conveyor belt, move it beside the switch to activate it.
Stage 2
There are two crates to pick up and a switch to activate here. You also get three units to move around. First, select the frontmost unit and place it on the pressure plate ahead to lift it up to the platform above. Move him forward to activate the switch, then kill the Thoad in front. You will also notice that two of the pressure plates have come down.
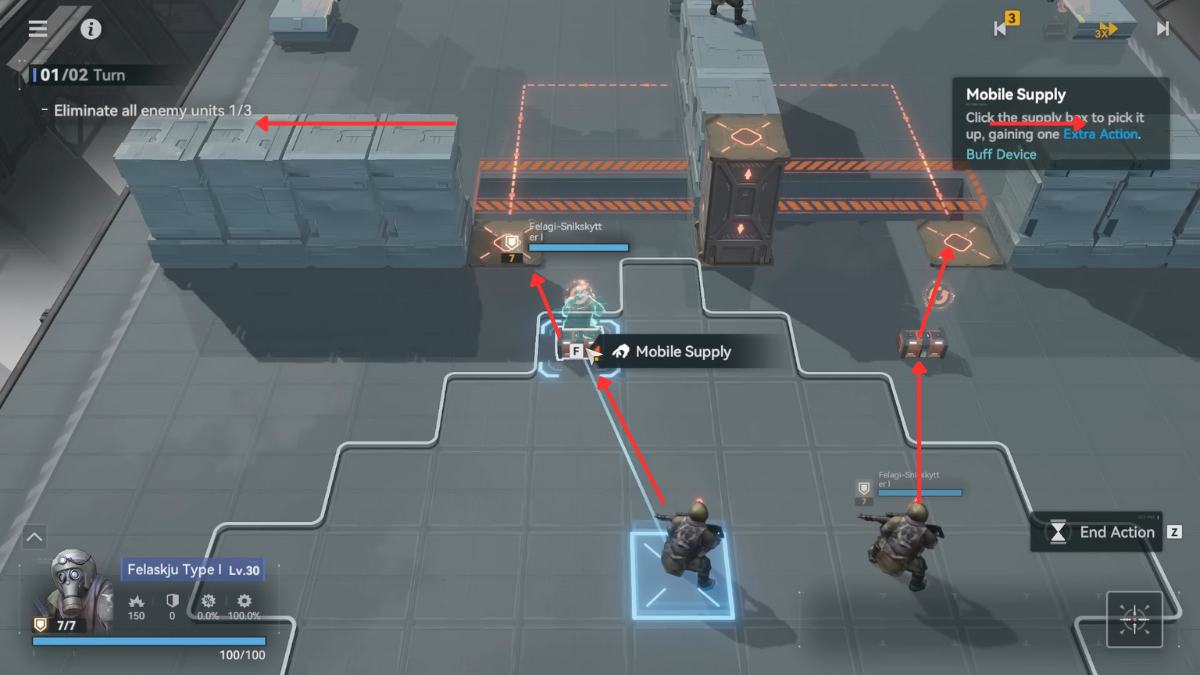
Select the other two units one by one and have them pick up the mobile supply first. End the action right after and then move them to the pressure plate. Select the first unit again and activate the switch to bring the other two up. You can then move the two units to the far end of each ramp, then shoot the Thoads hidden behind the blocks in front.
Stage 3
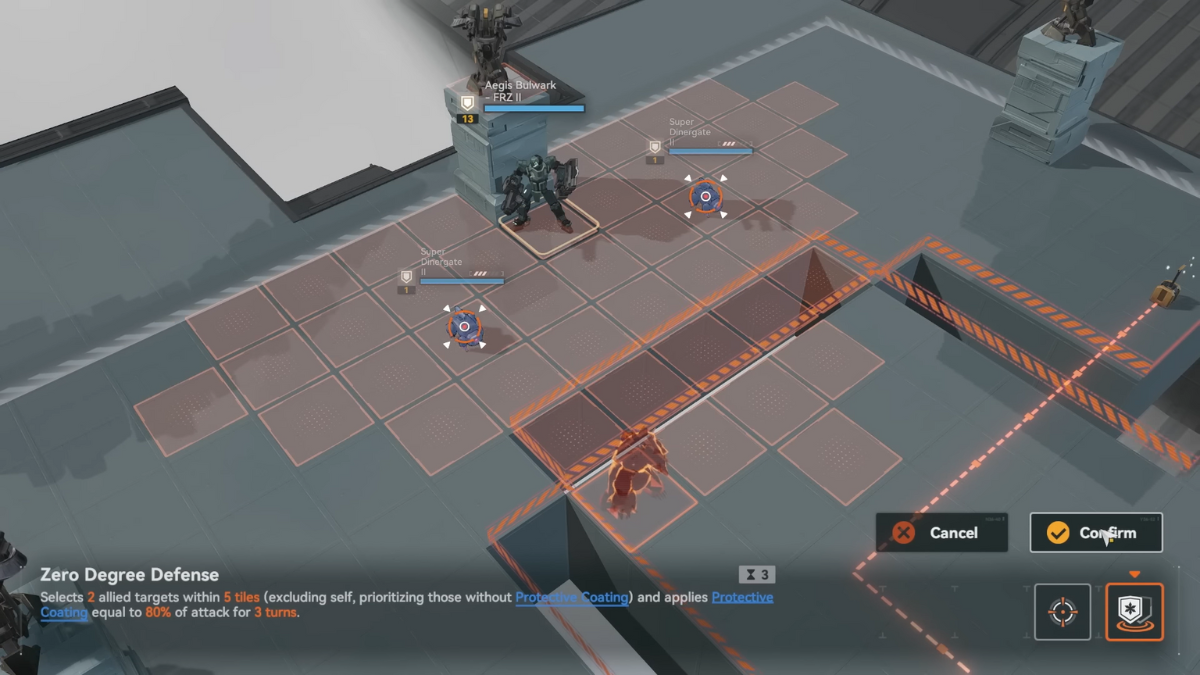
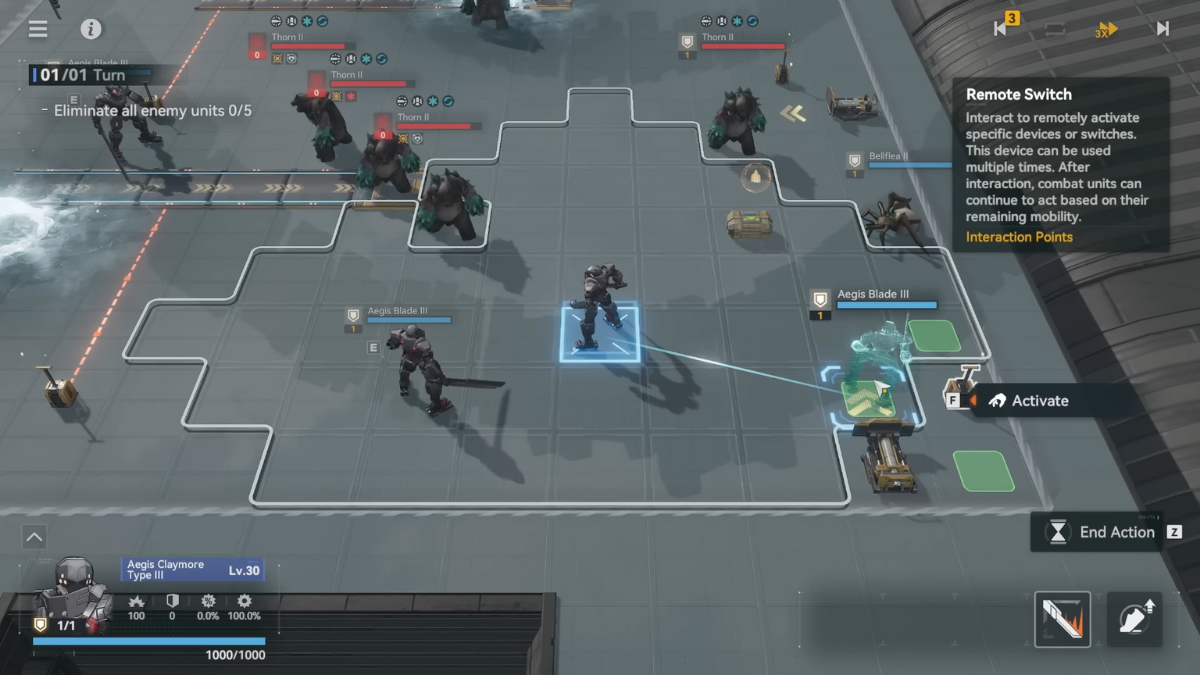
You now have four units to work with, and you also cannot lose any unit for two turns. Luckily, you can use the Zero Degree Defense skill to select two units within a certain number of tiles. Select the Bulwark right on top that is beside the two Dinergates, then apply this skill. This will create a shield around the Dinergates, and you can move the one on the left towards the switch on the bottom left.
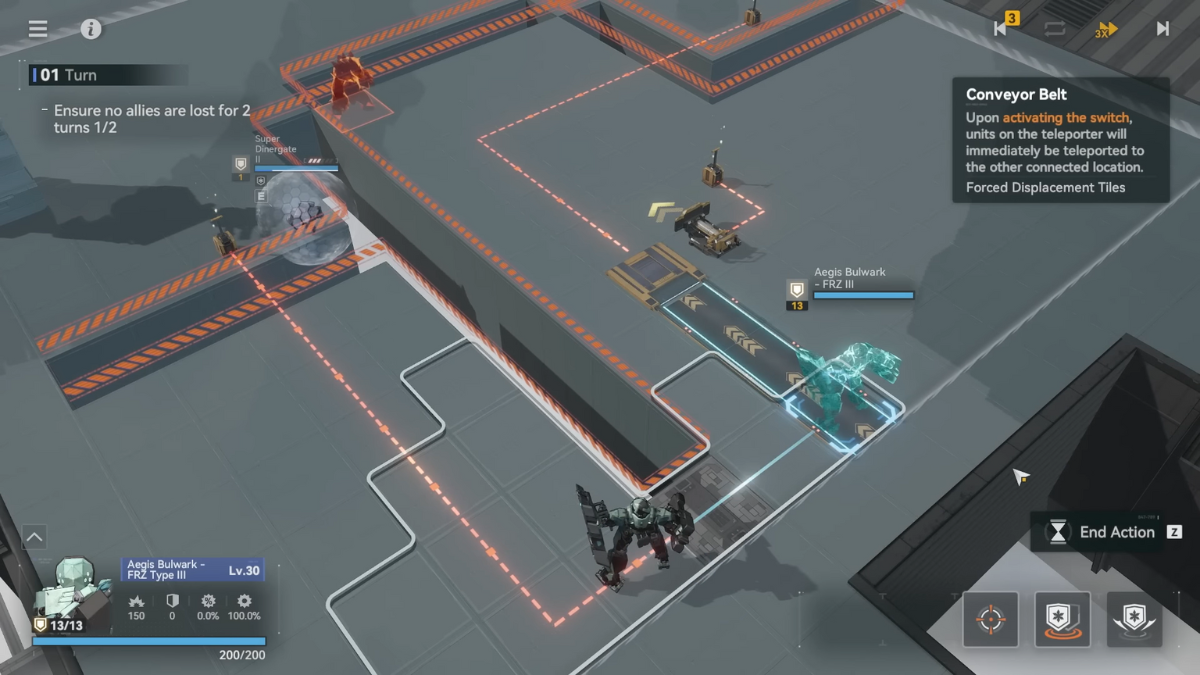
Activate the switch, then select the Bulwark at the bottom and move him towards the belt on the right. End the action, then move the other Dinergate on the right towards the remaining switch and activate that as well. End the action once the Bulwark has moved upwards on the belt.
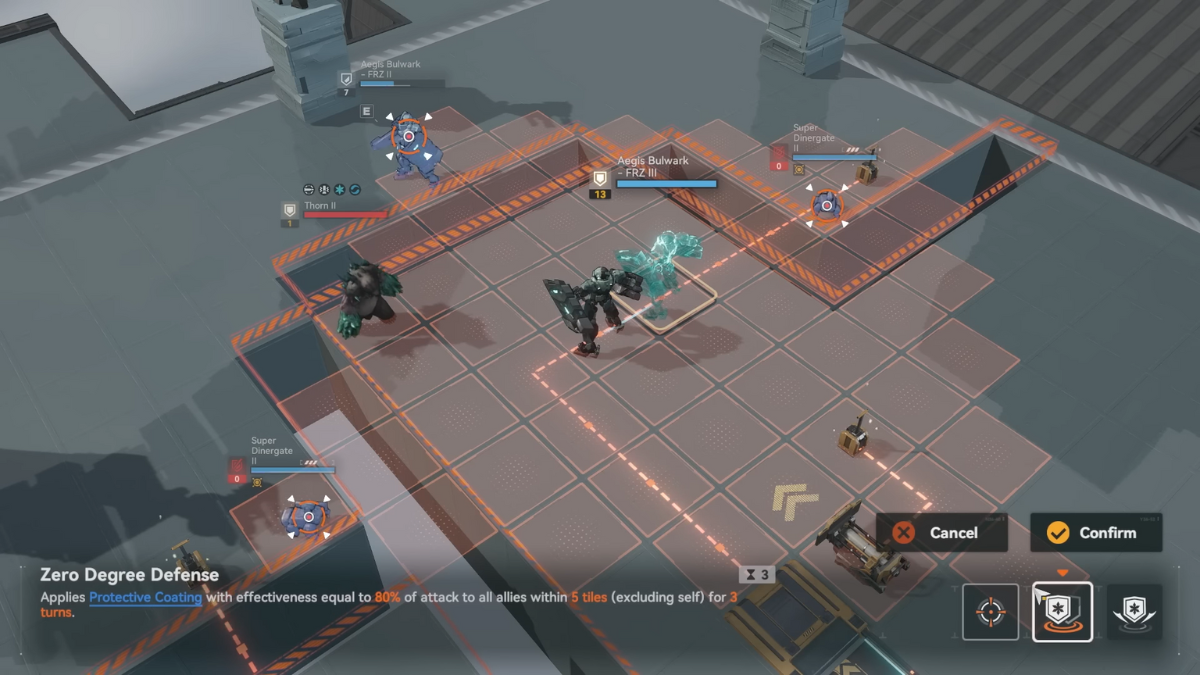
Next, place the first Bulwark on top a bit to the center of the upper platform, then move the second Bulwark on the conveyor belt towards the switch. Activate the switch to make the Bulwark get a jump ahead, then place him a bit to the right. Activate the Zero Degree Defense skill to be applied on the Bulwark on the top and on the two Dinergates. End Action here to complete the puzzle.
Stage 4
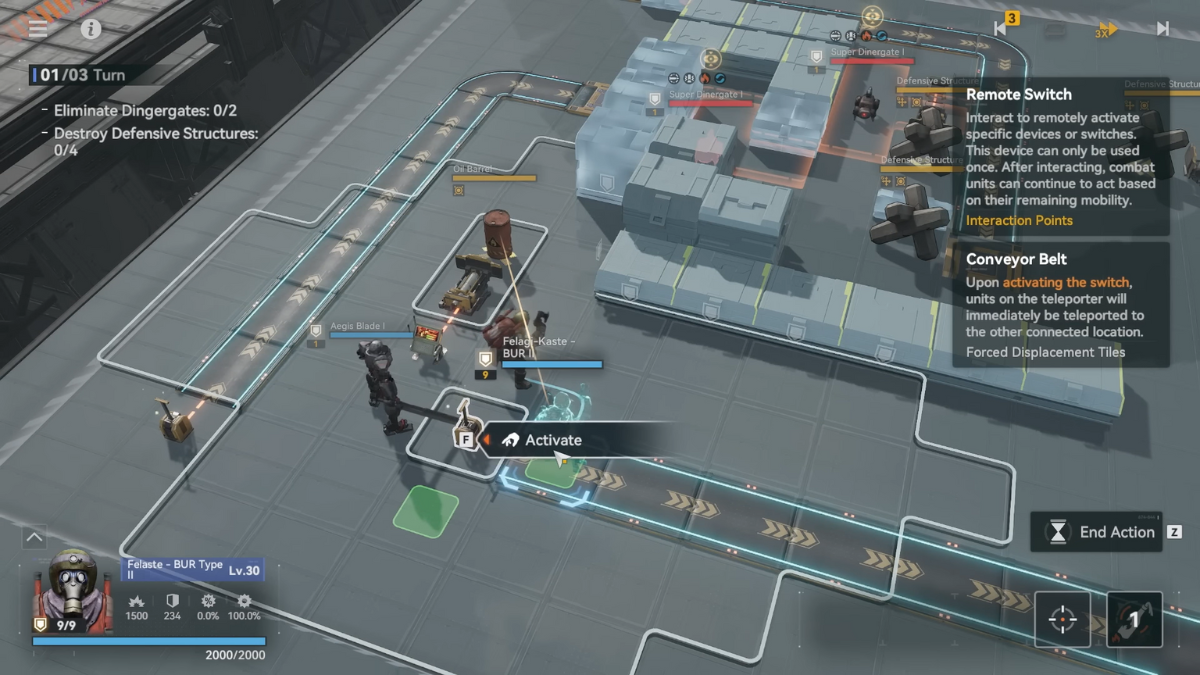
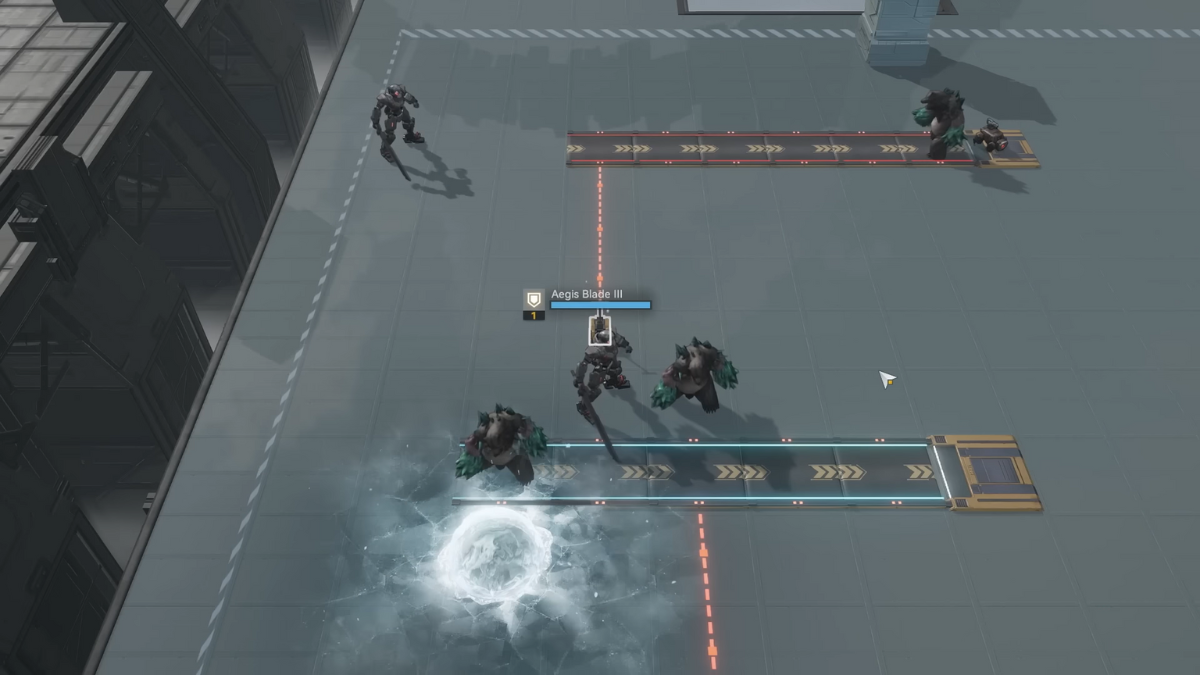
For this one, you need to destroy 4 Defense Structures and also eliminate 2 Dingergates. To start, select the Kaste and send him backwards towards the switch and activate it. After reaching the end of the belt, activate the switch at the end of the belt. End action after that, then select the Aegis Blade and move him to the switch on the left to activate it. Move the Aegis Blade in front by one block after it reaches the end of the belt to end the turn.
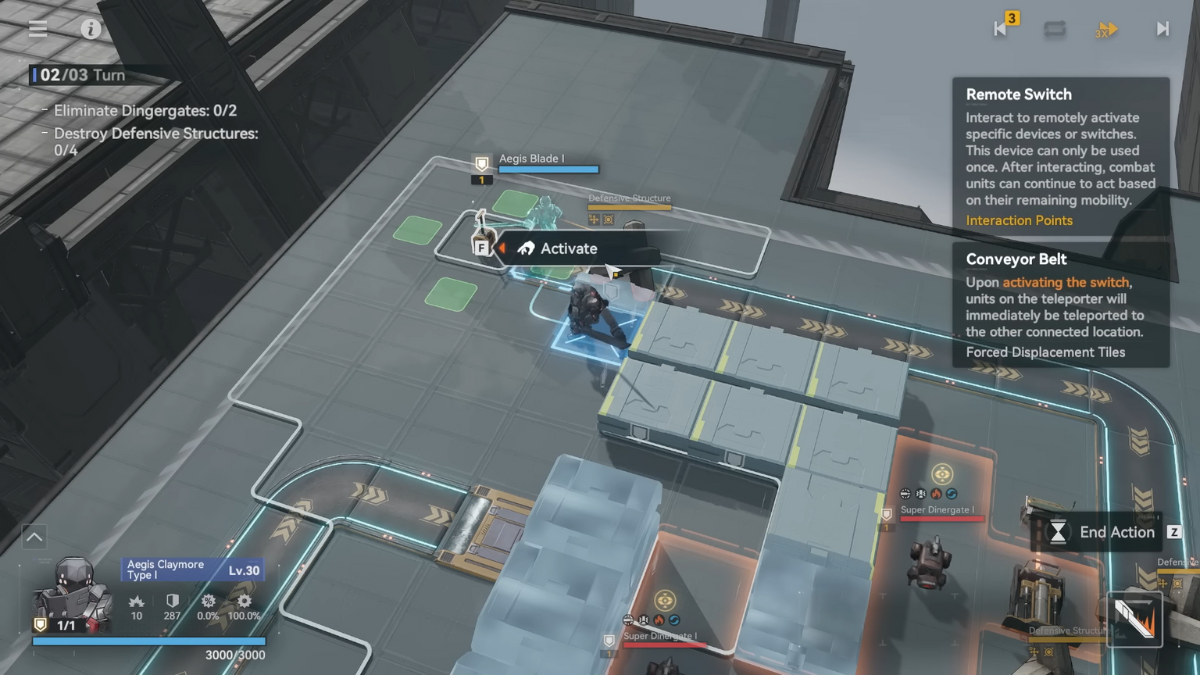
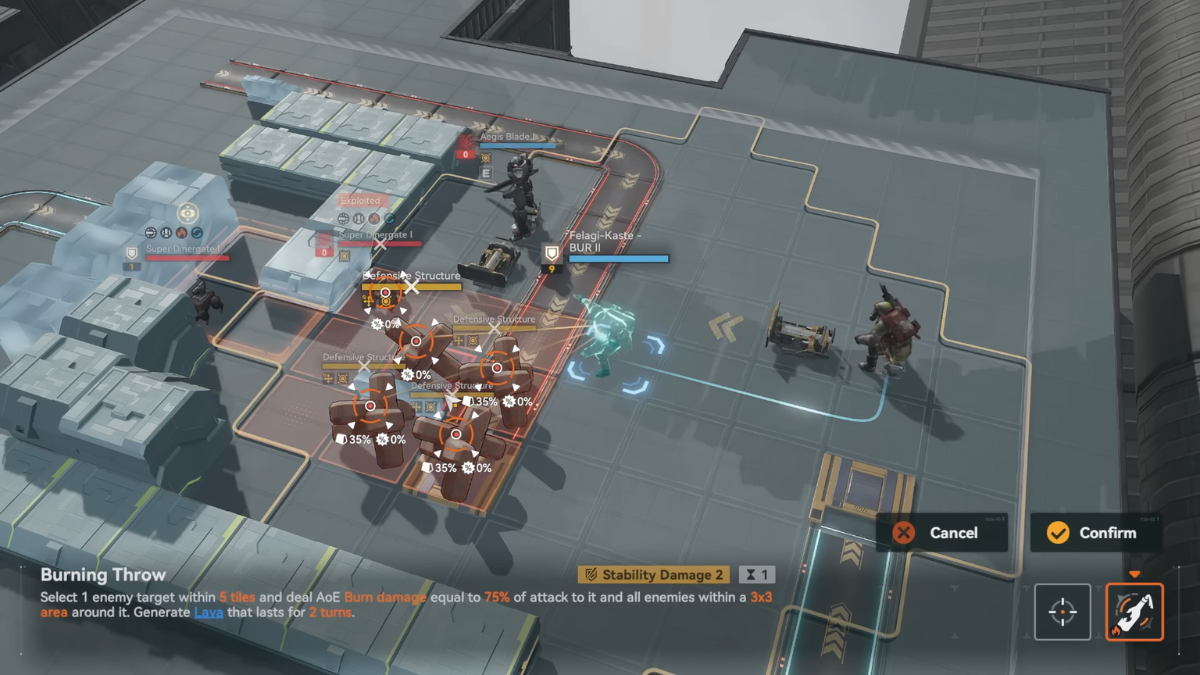
Next, select the Aegis Blade again and move it towards the switch ahead and activate it. Once it reaches the end of the belt, move it towards the switch on the left and activate it. Simultaneously, use the Burn the Boats skill on the Dingergate on the left to destroy it. After that, select the Kaste and bring him towards the four structures. Use the Burning Throw ability on the structures to destroy them all at one.
As a final step, again select the Kaste and bring them across, three blocks in front of the final Dingergate. Use Violent Ambush at the final Dingergate to destroy it and end the puzzle.
Stage 5
The final puzzle will take a while to complete, since you have 5 enemies to eliminate and they are scattered all across the field. To start, select the Aegis Blade and move it in front beside the Thorm. Use Burn the Boats to push the Thorn towards the conveyor belt on the right. Next, select the Dinergate at the top right corner and bring it to the pressure plate in front of the conveyor belt on the left.
After that, select the Thoad FRZ II at the bottom left corner and use the Emergency Cooling ability on the Thorn right in front of it. Select the Aegis Blade right beside the Thorm that was pushed back and push it towards the switch on the right to activate it. Then, use the Burn the Boats ability on the horn on the right of the switch. Select the Thoad at the top of the level and use the Emergency Cooling ability on the Thorm that is in front of it.
Next, select the Aegis Blade that is at the bottom and use it to activate the switch on its left. Bring the Aegis Blade back towards the Thorn to the right of the switch and use the Burn the Boats ability on it. Select the other Aegis Blade right beside the one you were using and move it towards the switch on the left. Activate the switch to push it up, then use Burn the Boats on the Thorn on the left.
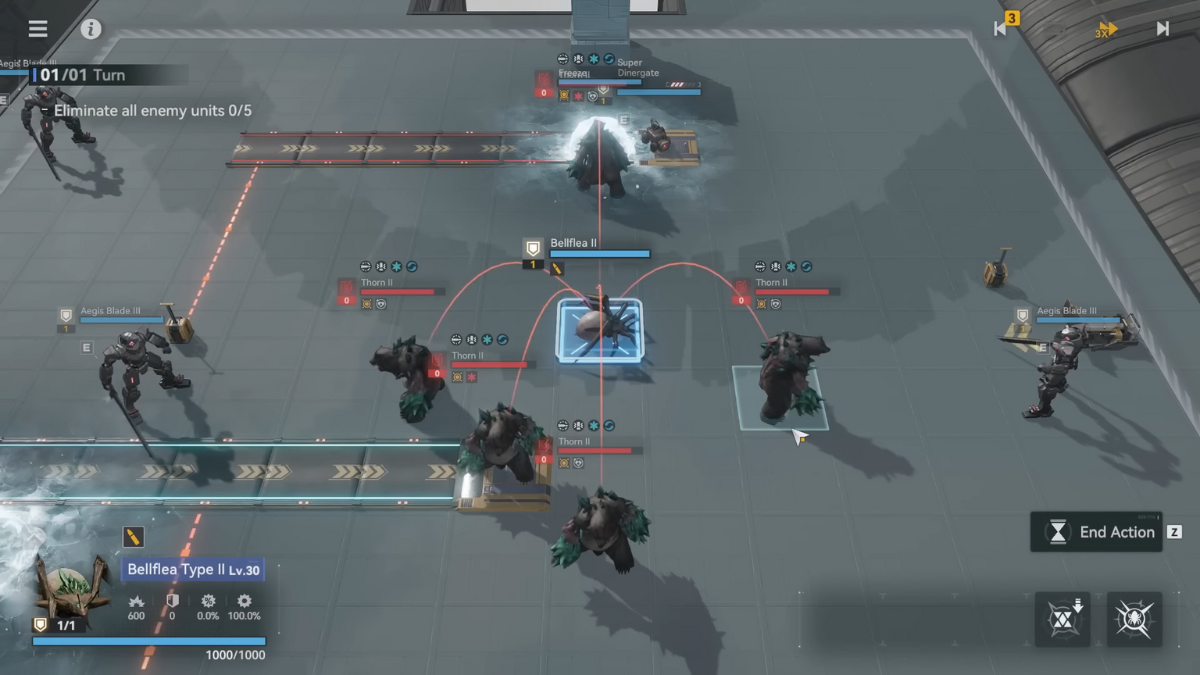
Select the Bellflea at the rightmost section of the arena and use it to collect the Ammo Supply III crate on the left. You can then move the Bellflea towards the switch above and activate it. This will move the Bellflea to the center of the arena, right in the middle of all the enemies. Use its attack to bring them down and complete the level.